I Can't Believe It's Not a Picture
Note: This page describes the process I used to render images of LEGO models at the time I was writing my articles on the RCX and NXT. Nowadays, I take a much simpler approach: just use the renderer built in to BrickLink Studio. I find it much easier to use and it produces very nice results with minimal fiddling.
While writing my article on the RCX, I found that there were no high-resolution photographs of RCX-era LEGO® parts available online. So, I decided to render my own computer-generated images based on LDraw models. This article outlines the procedure I used to do this. While I rendered relatively simple images (with only a few LEGO® parts at most in each image), it could also be used to produce images of more complicated models, albeit likely with longer render times.
Step 0: Install Required Software
This procedure requires the following software:
- LDraw - an open-source standard for LEGO CAD programs. The base LDraw install does not include an editor or viewer, just the LDraw language itself and a parts library.
- Bricksmith - an LDraw editor for the Mac.
- (optional) LEGO® Digital Designer (LDD) - LEGO®'s official CAD program. Somewhat easier to use than Bricksmith, but less flexible and with a narrower parts library. If you choose to use LDD, you'll need to make use of its "Export to LDraw" functionality.
- LDview - a 3D LDraw model viewer. We'll use it for its "Export to POV-Ray Scene" functionality.
- POV-Ray Unofficial for Mac - POV-Ray is an open-source image rendering program. An official Mac version does not exist; however, an unofficial version does!
Step 1: Creating the model
In order to render a model, we first have to create a model in LDraw format. There are a couple ways to do this:
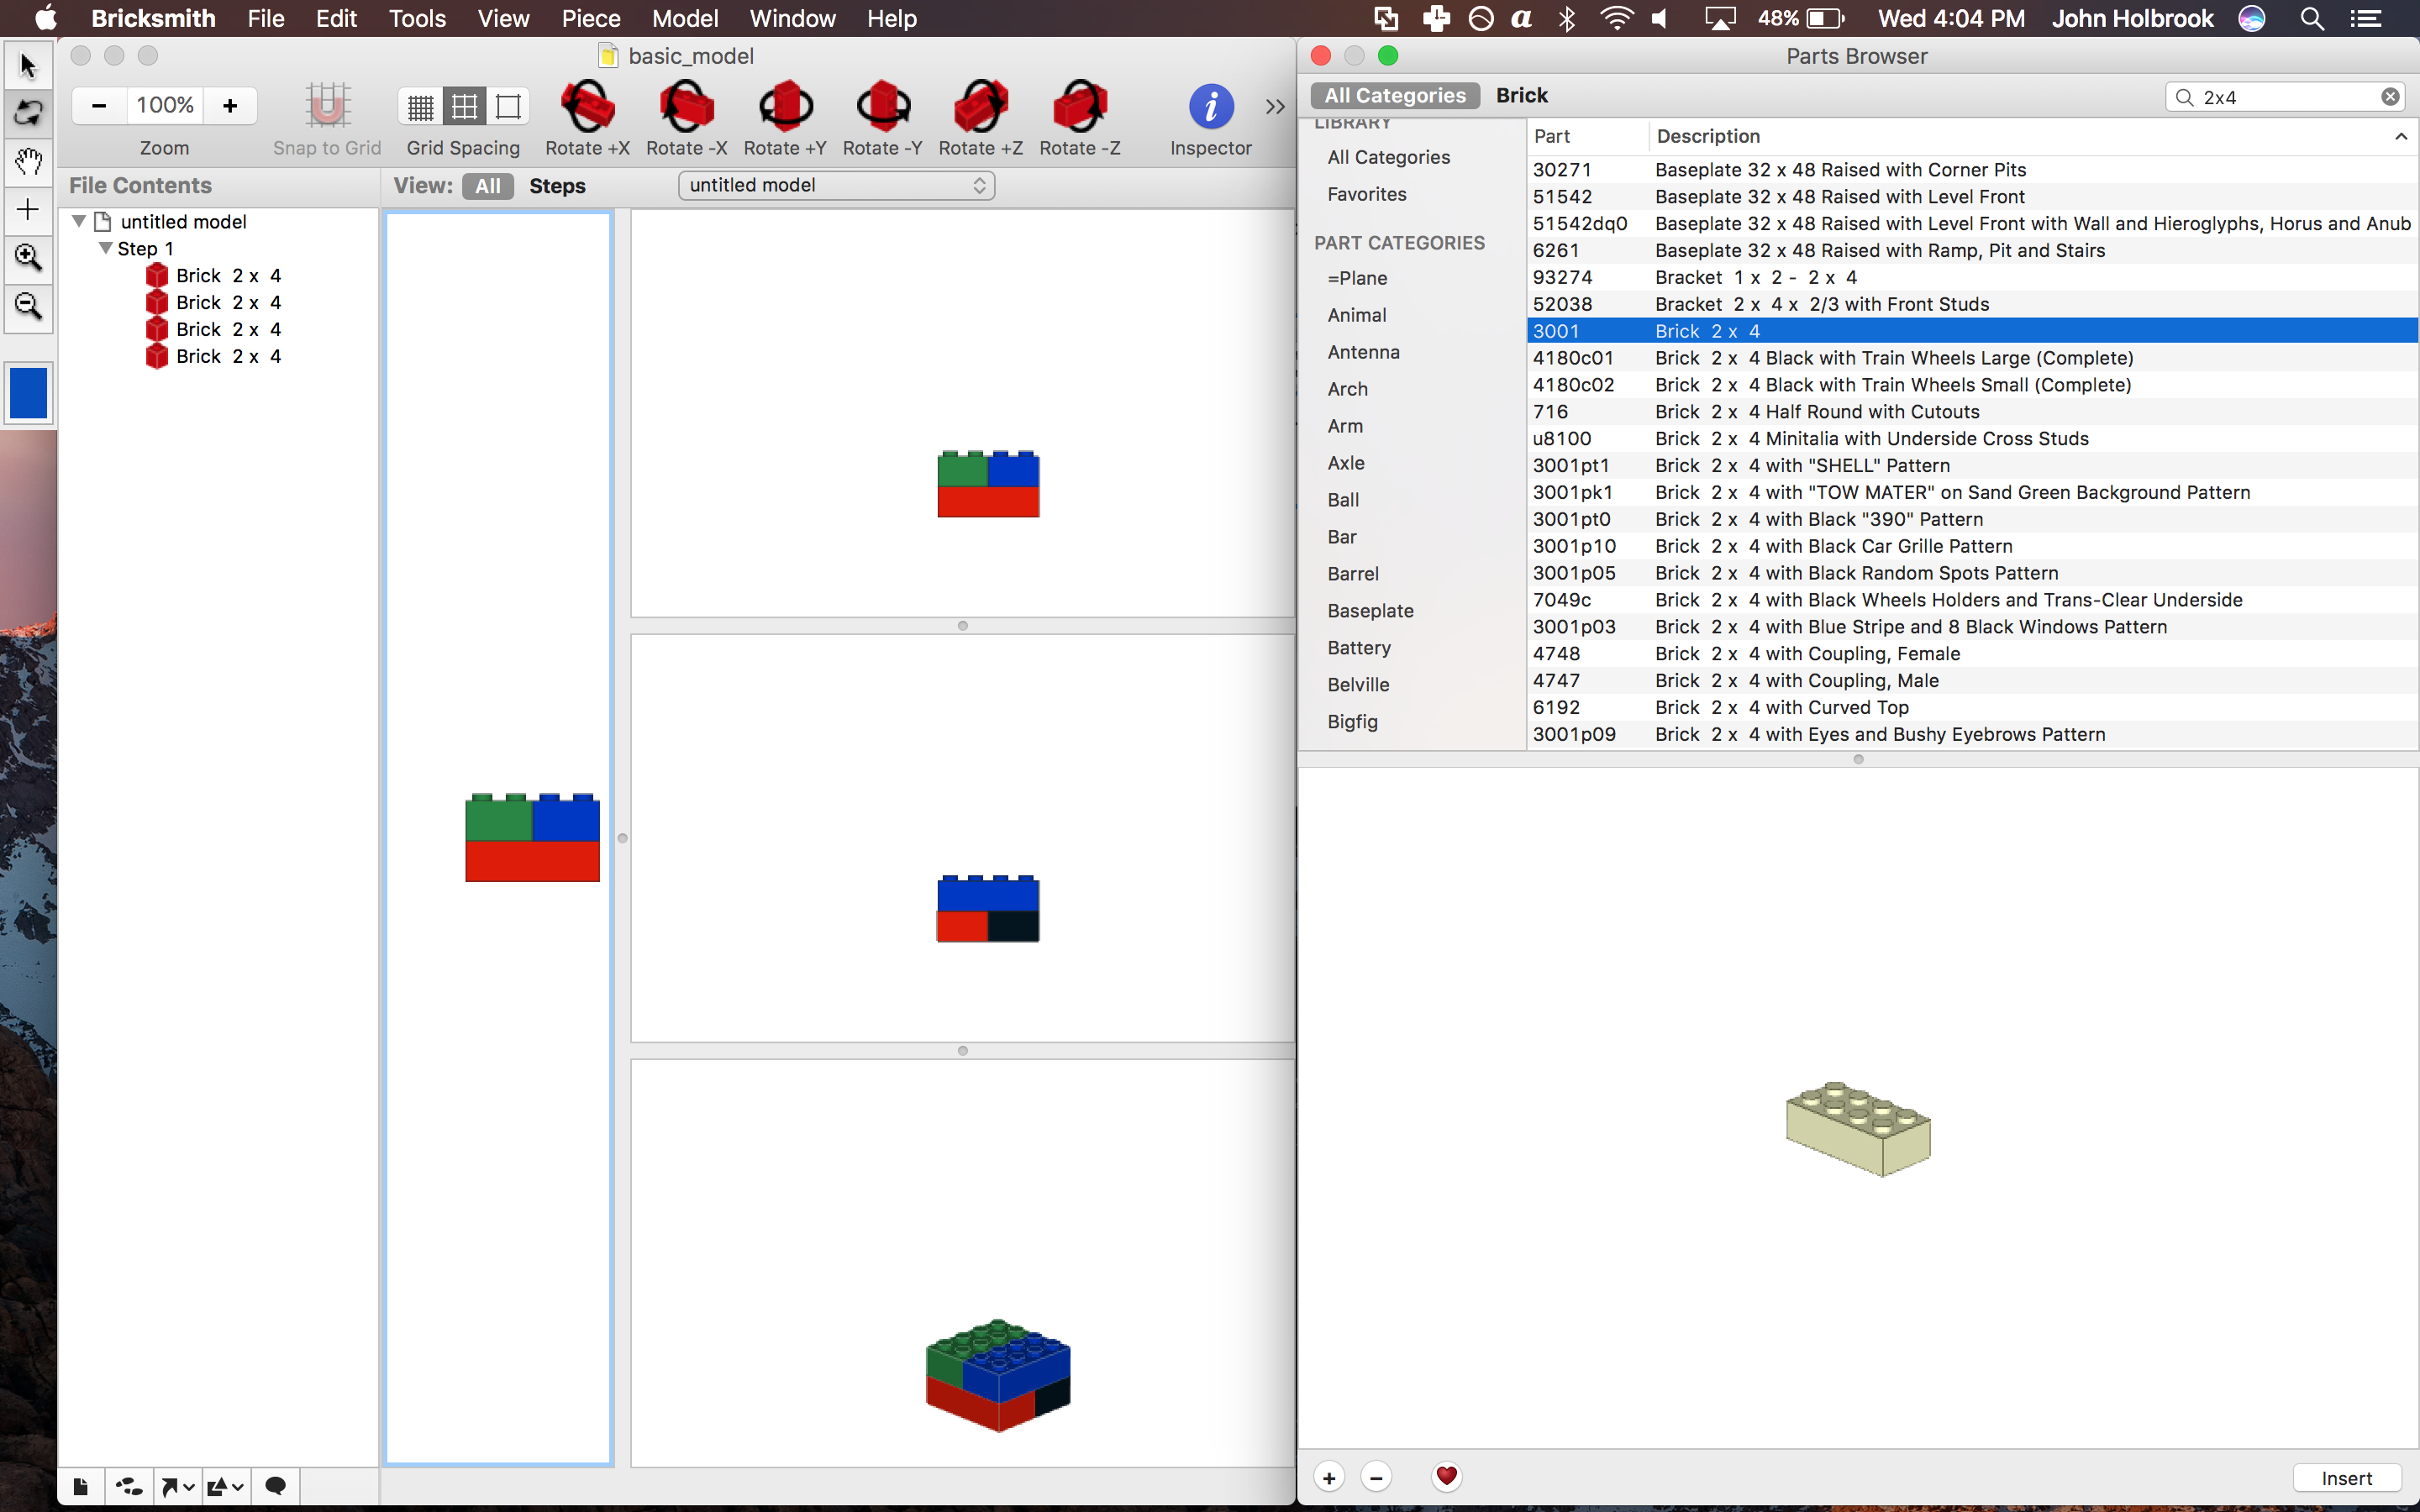
An LDraw editor such as Bricksmith will have the widest possible parts
library, and is the most flexible option. The main Bricksmith interface consists of two windows: One with multiple views
of the current model from different angles, and another containing a parts browser.
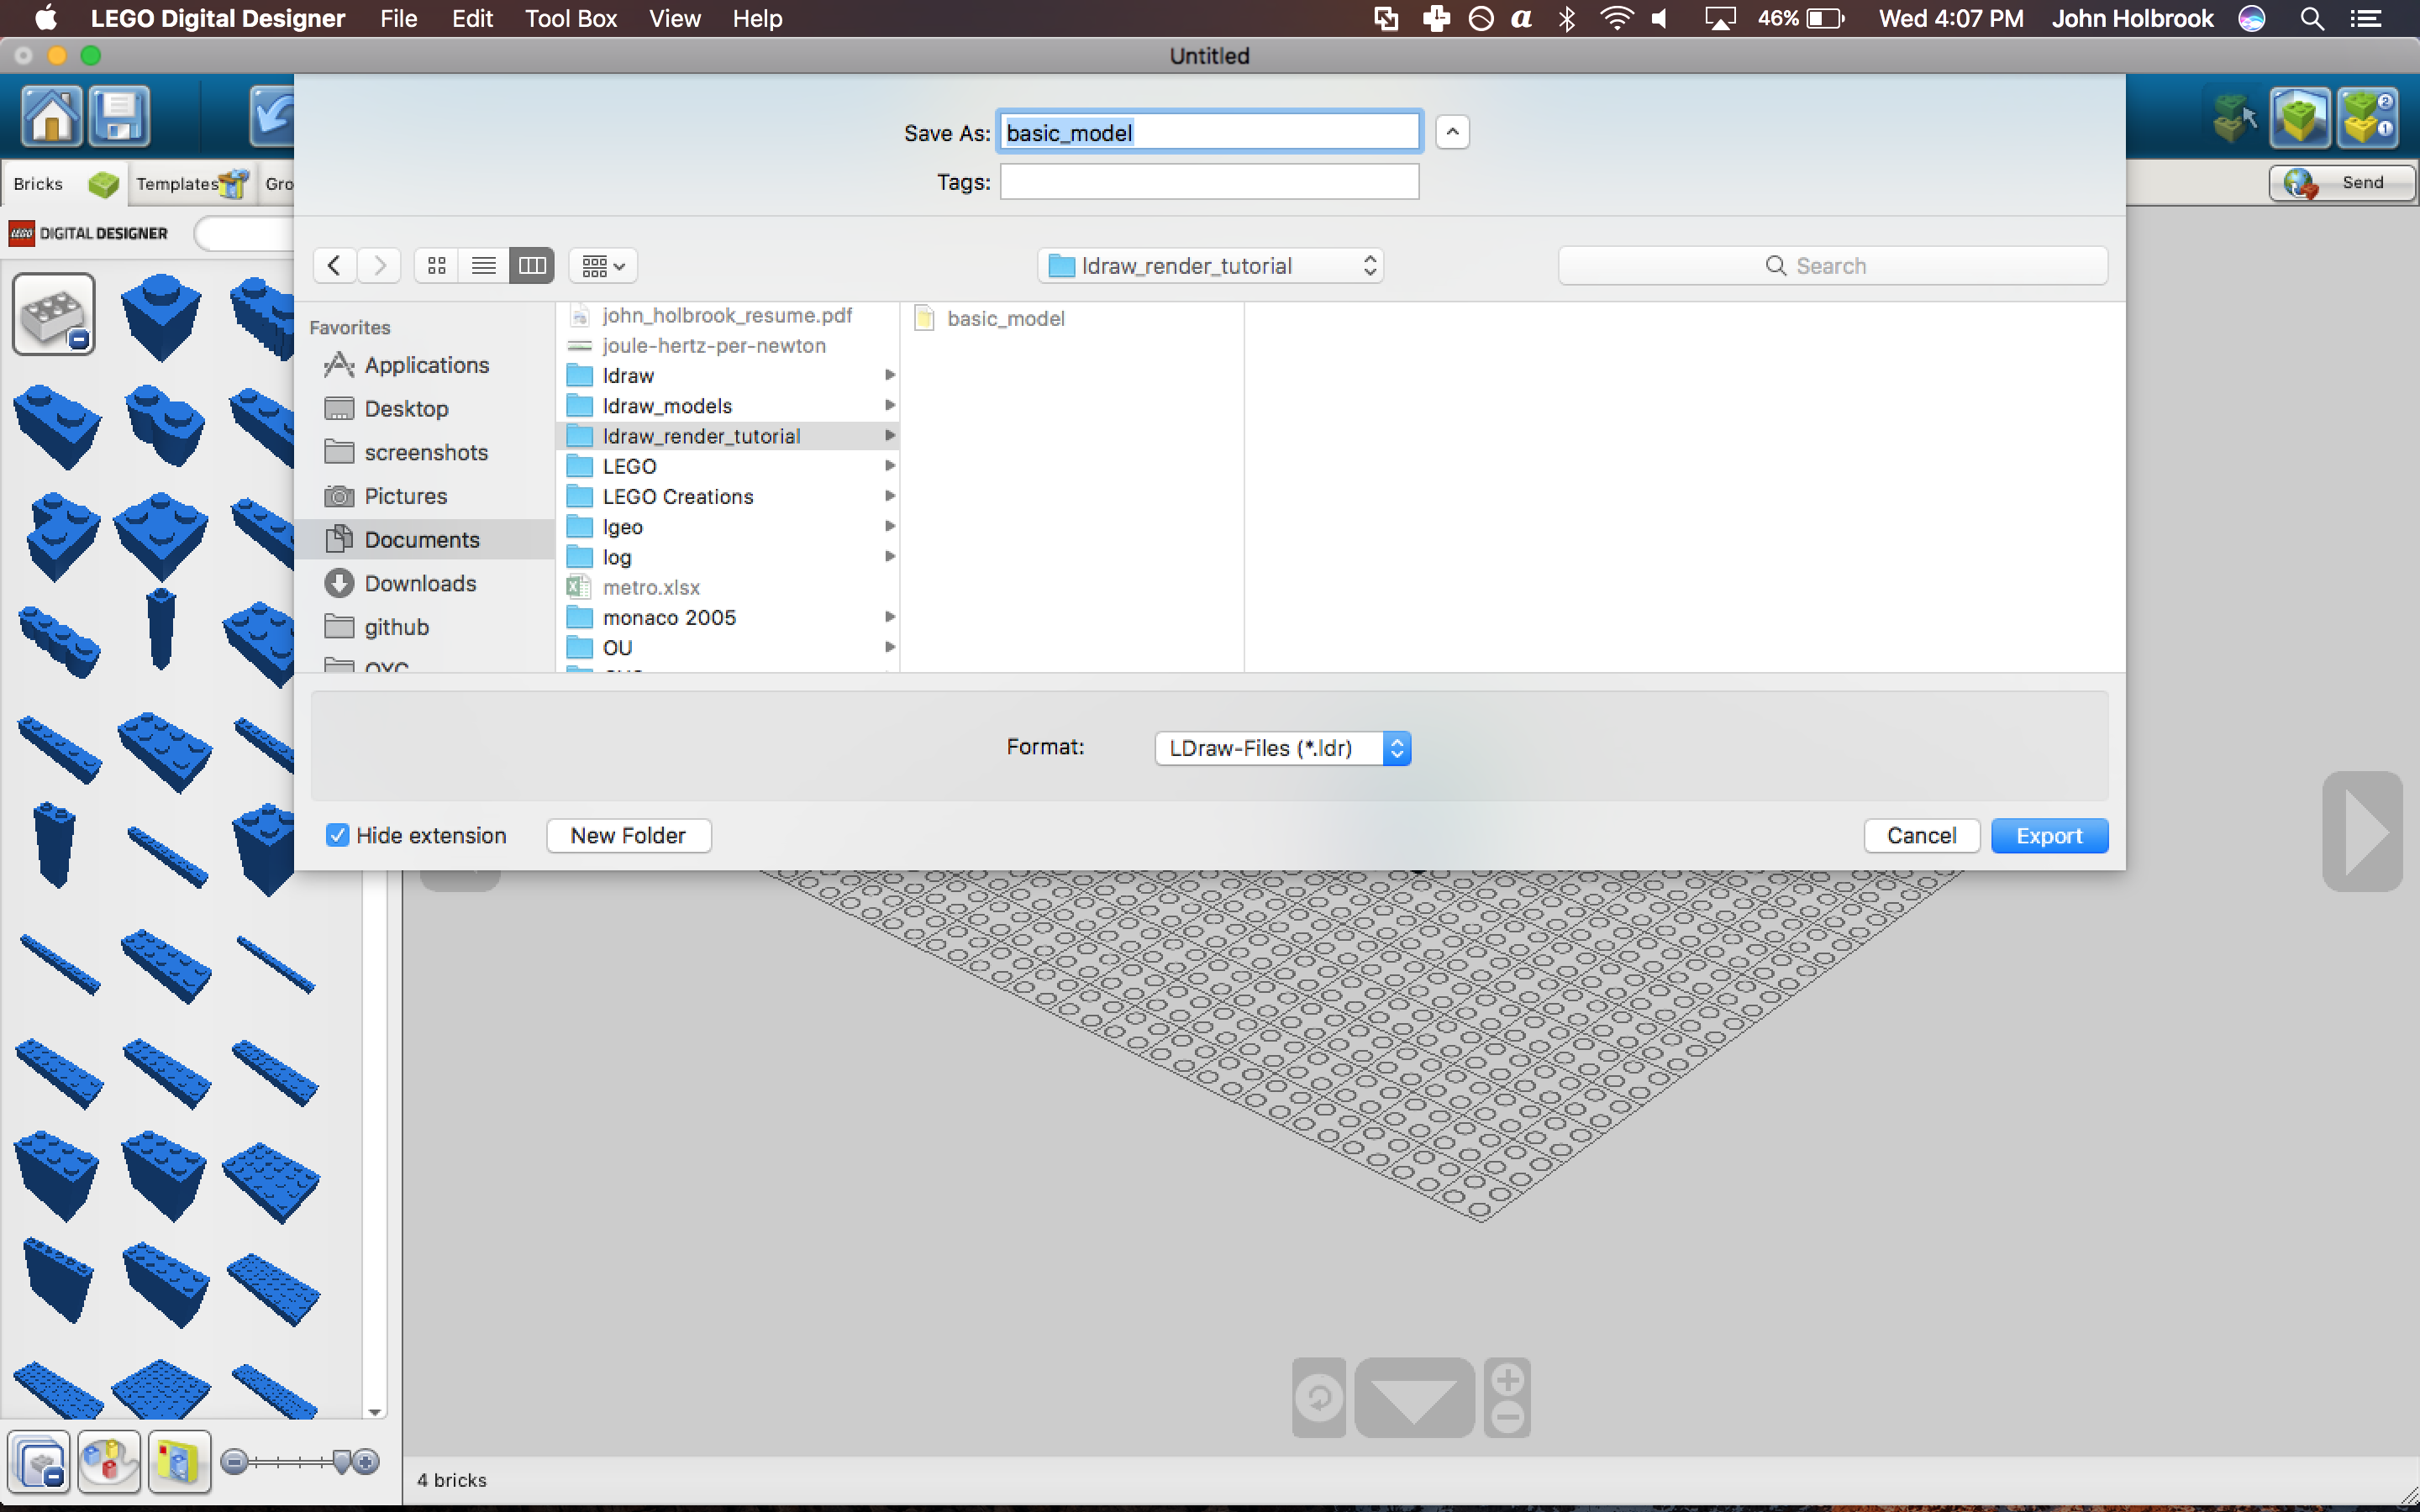
If you prefer to design your models in LEGO® Digital Designer (LDD),
the good news is that it is capable of exporting a model to LDraw format using the "File > Export model" menu option.
However, the conversion from the .lxf to .ldr file format is not always perfect, and sometimes parts get left out
of the exported model, so it's a good idea to open the LDraw model in Bricksmith (or some other LDraw editor) to
verify that the model is complete and re-add any missing parts.
Step 2: Exporting to POV-Ray
Now that the model is built and in the correct format, we'll create a POV-Ray scene file based on the model. This is most easily achieved in LDView. While designed simply for viewing LDraw models, LDView is also capable of generating POV-Ray scene files based on the current model and perspective.
Open the LDraw model in LDView and use the mouse to view the model from approximately the desired angle.
Then, adjust the zoom level by selecting the "View > Zoom to fit" menu option.
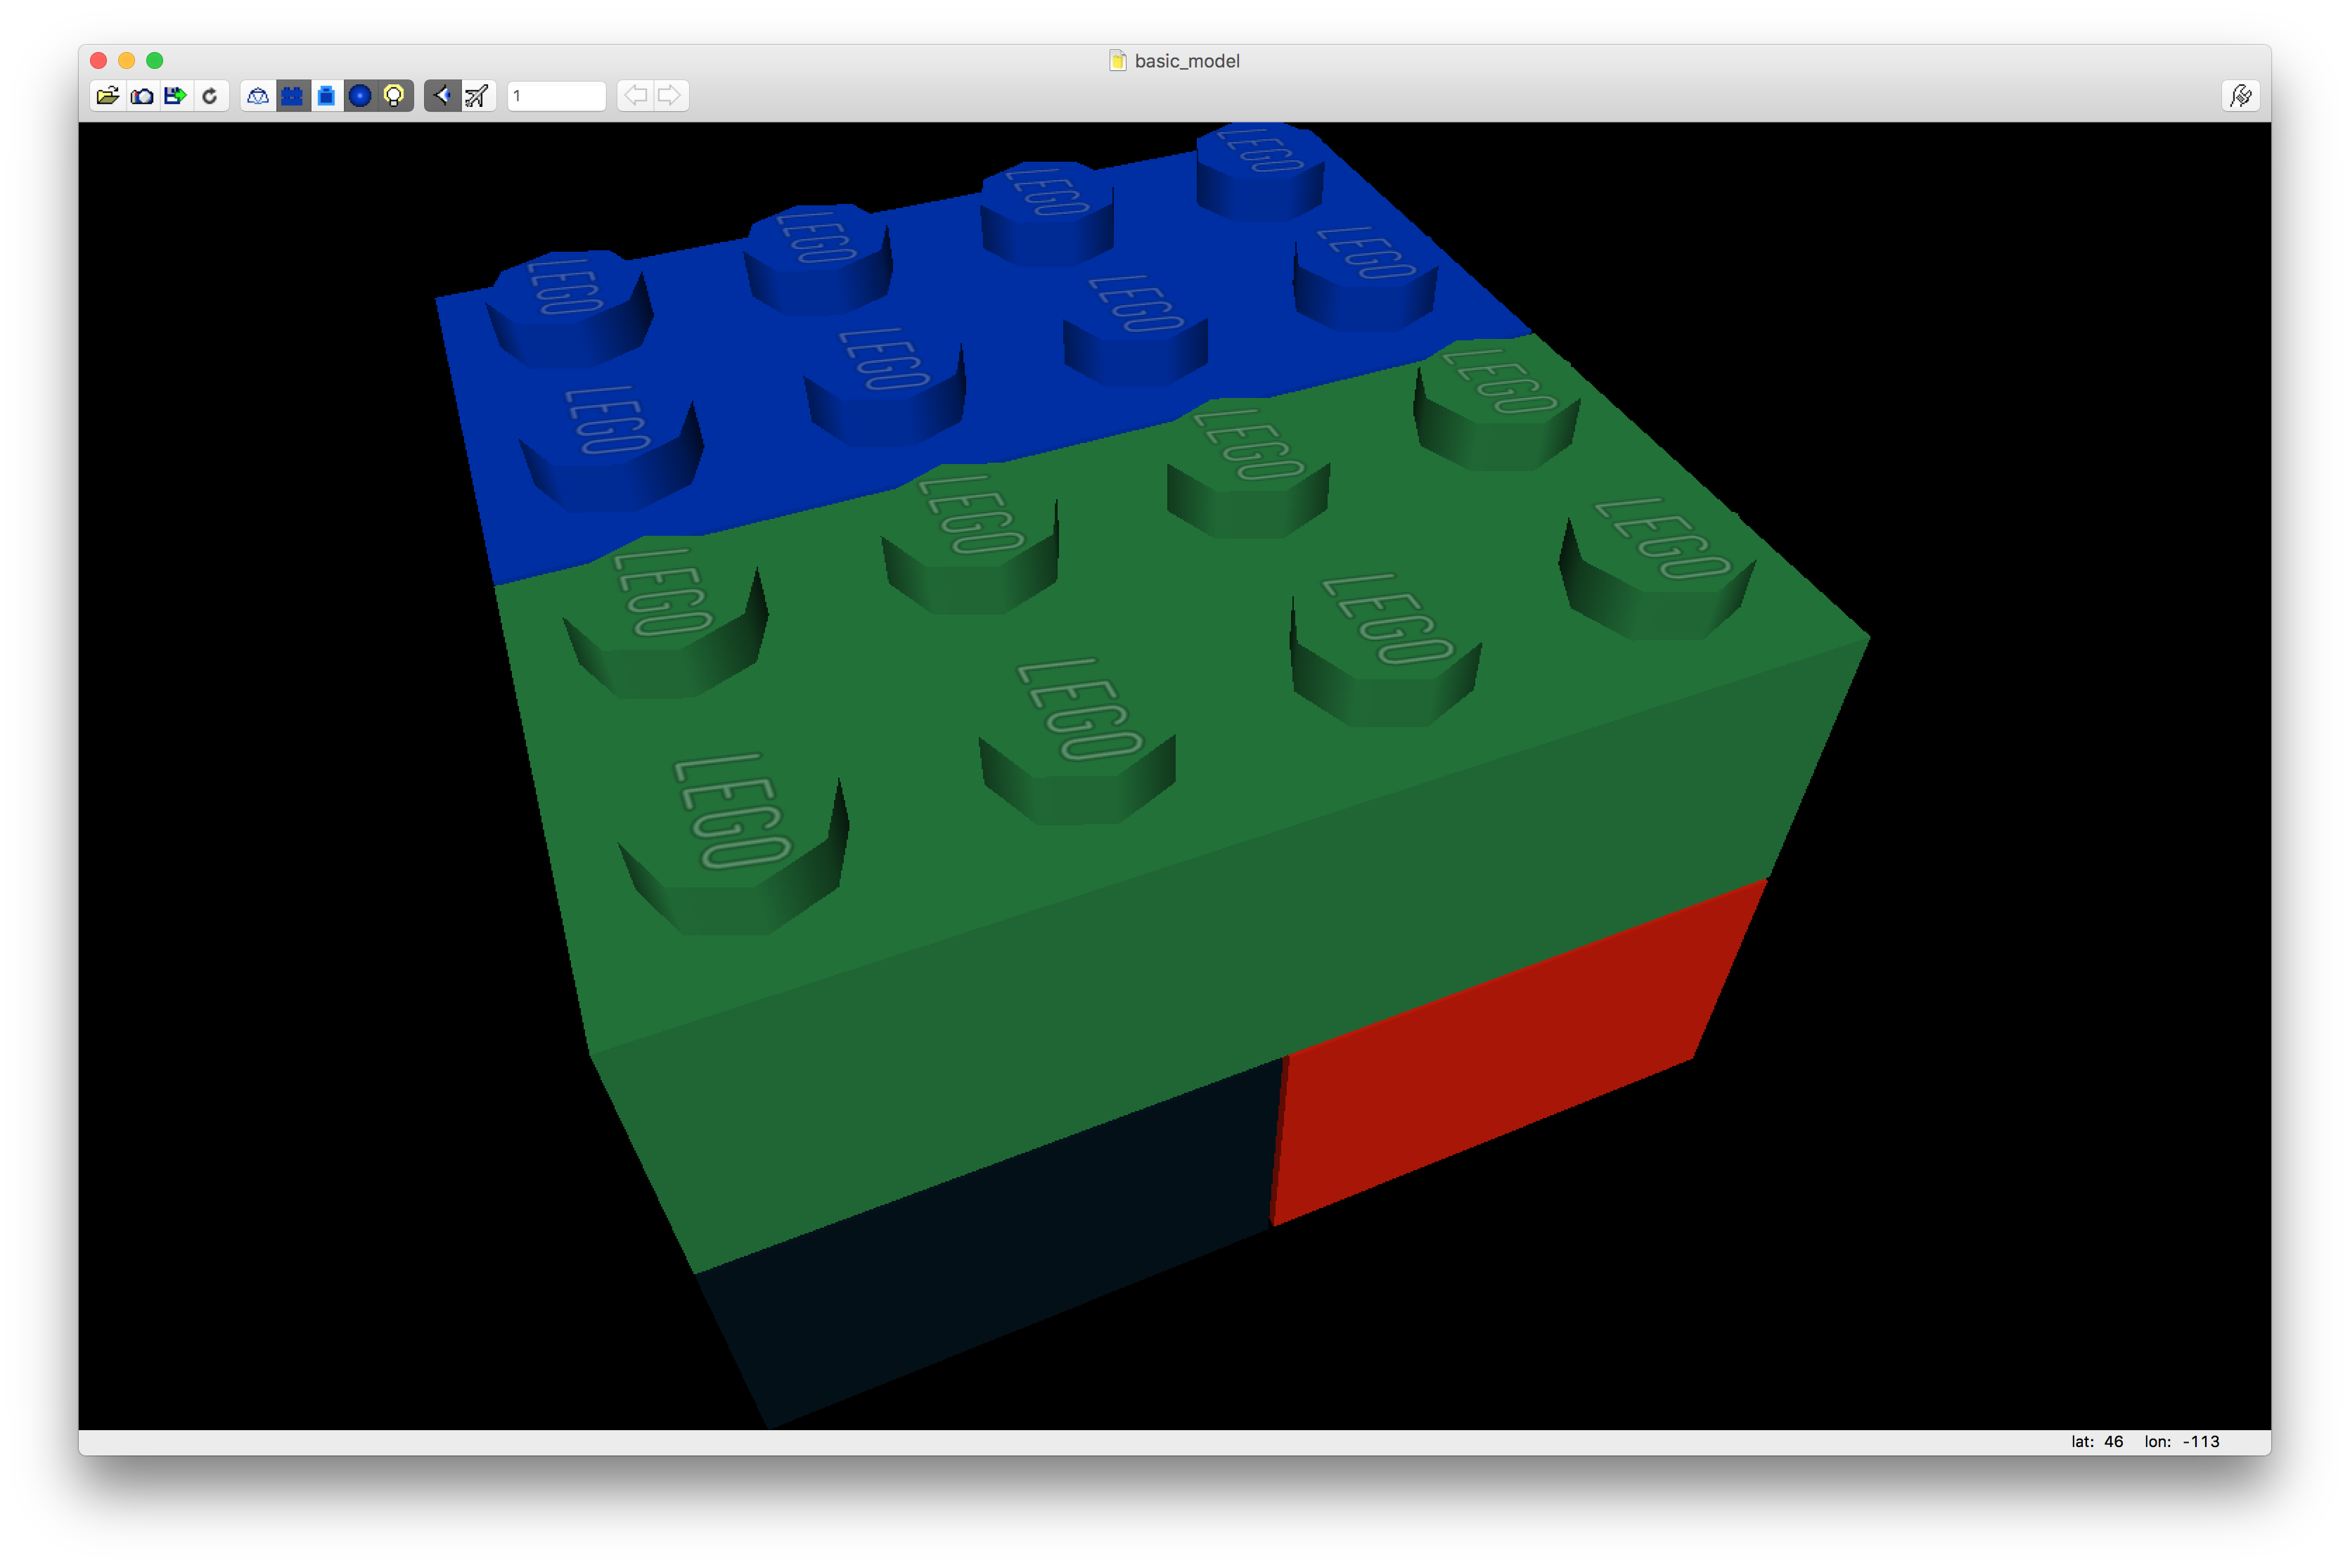
Once the camera position is adjusted to your liking, save the POV-Ray scene file using the "File > Export" menu option in LDView.
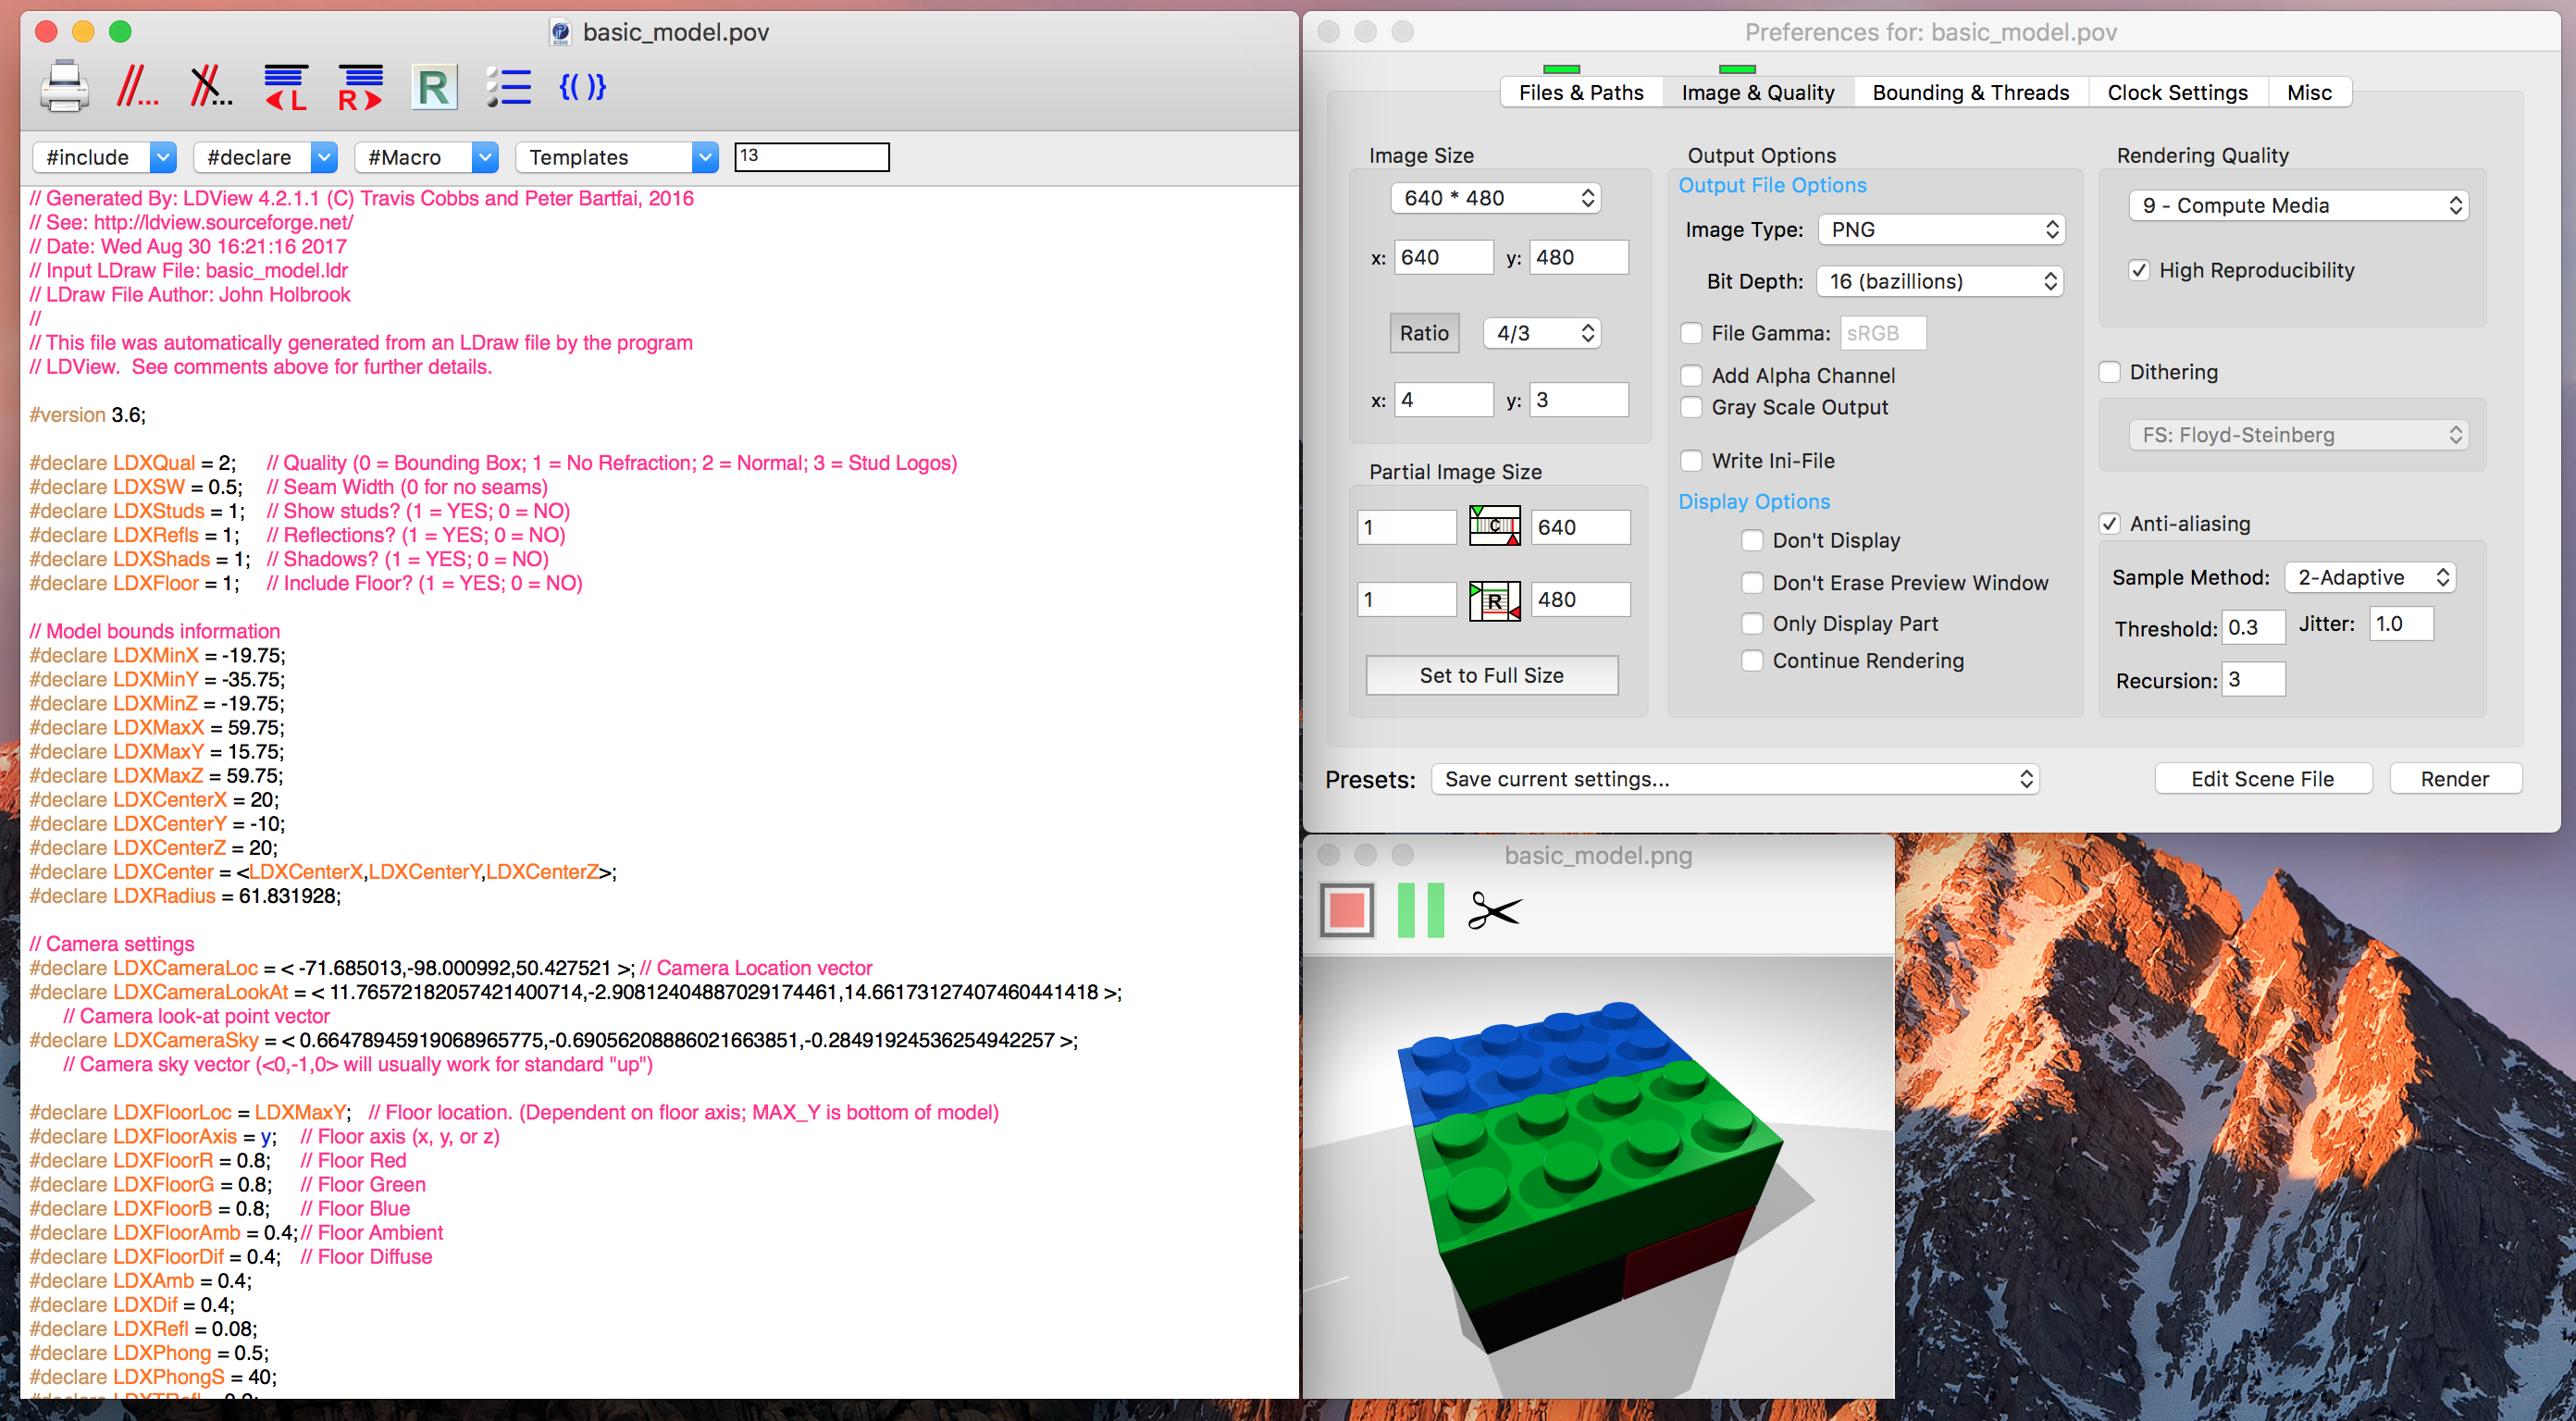
Step 3: Checking the Image
Before rendering the full-size image, check to make sure that the camera position and zoom level in the file
exported by LDView are acceptable. Open the .pov file in POV-Ray. If the Render Preferences window
is not already shown, bring it up with the "Window > Render Preferences" menu option. Under the
"Image and Quality" tab, change the resolution to something relatively small (e.g. 640x480) and
perform a test render by clicking the "Render" button. Check the resulting image to make sure
the camera position and zoom level are acceptable.
It's possible to change the camera position and zoom level from within POV-Ray; however, I find it easier to change them by re-opening the model in LDView, changing the camera position or zooming, and then re-exporting a new POV-Ray scene file. Continue this cycle of re-exporting and test rendering until the camera position and zoom level are acceptable.
Once the camera position is acceptable, examine some of the preferences that are editable by
changing lines near the top of the .pov file. Depending on the mature of your model and the
intended use of the final image, you may or may not want the image to include shadows, reflections,
writing on the top of studs, or other options. Edit the options accordingly.

Step 4: Rendering
Once you're happy with the camera position and rendering settings, it's time to render the full-sized image!
Return to the render preferences window and set the resolution to whatever you want the resolution of the
output image to be. Depending on your system, high-resolution images of complicated models could take a while
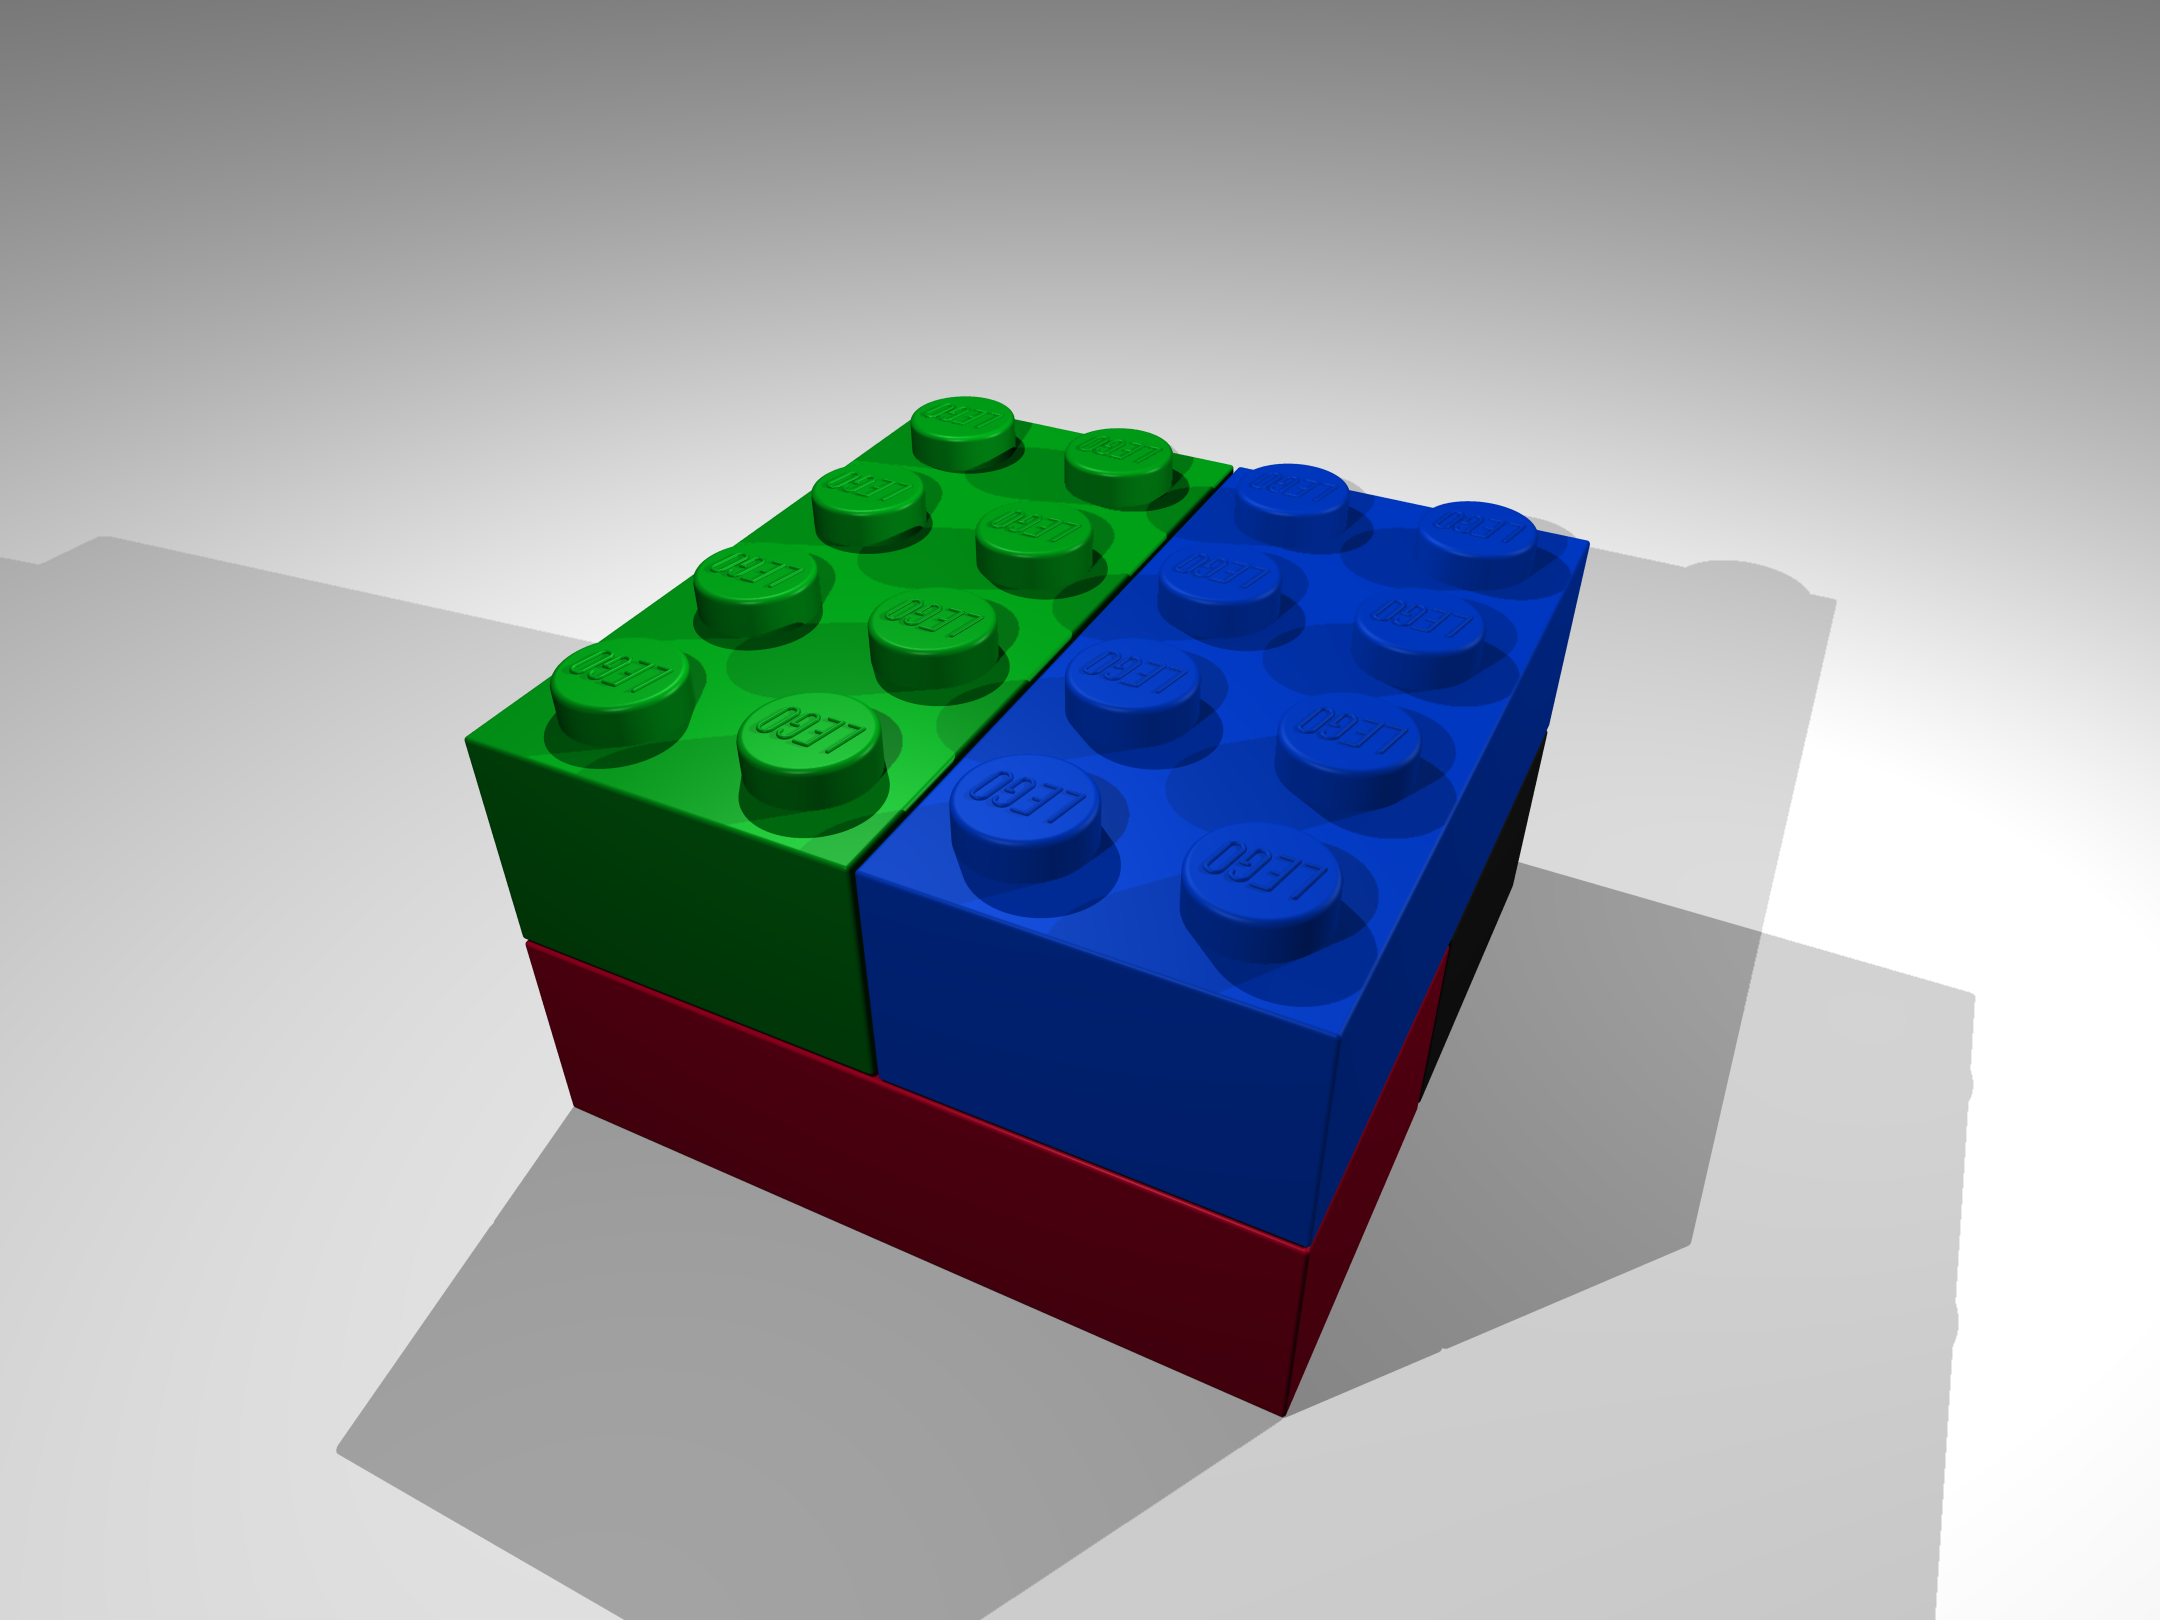
to render, but the result can look pretty good: