Organizing my LEGO® Parts
Motivation
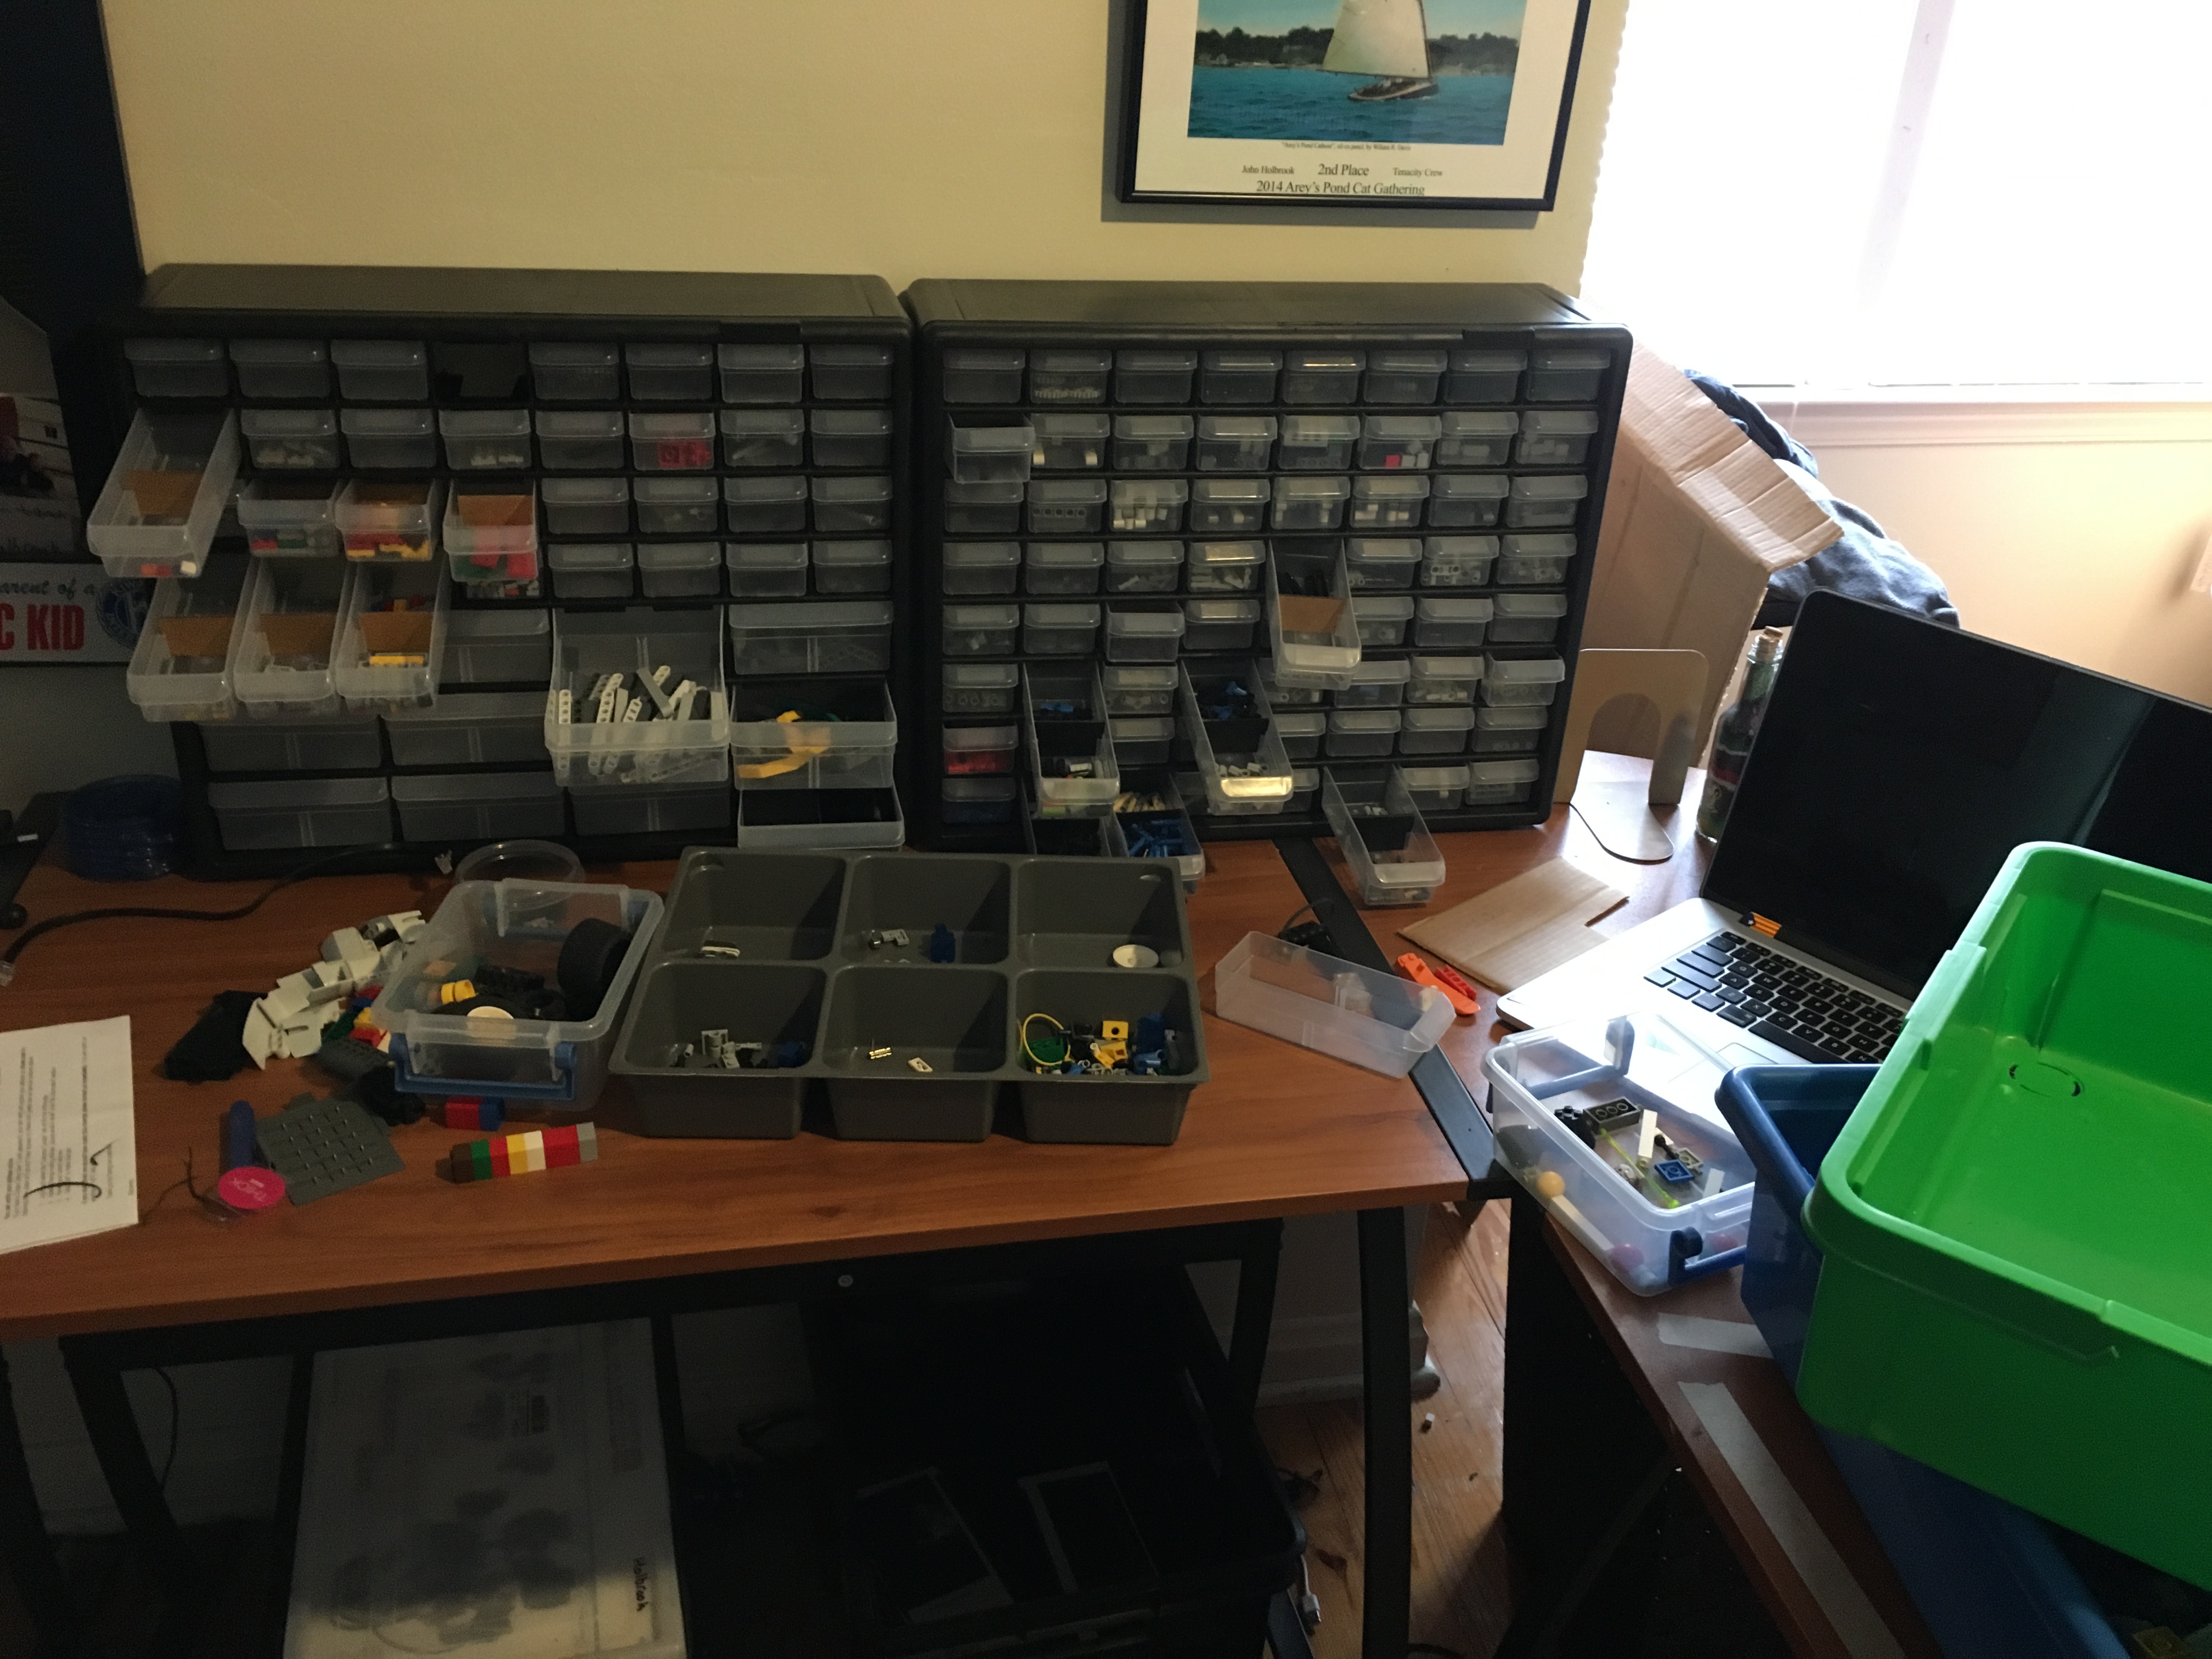
Until recently, my system for storing and organizing my LEGO® parts looked like this:
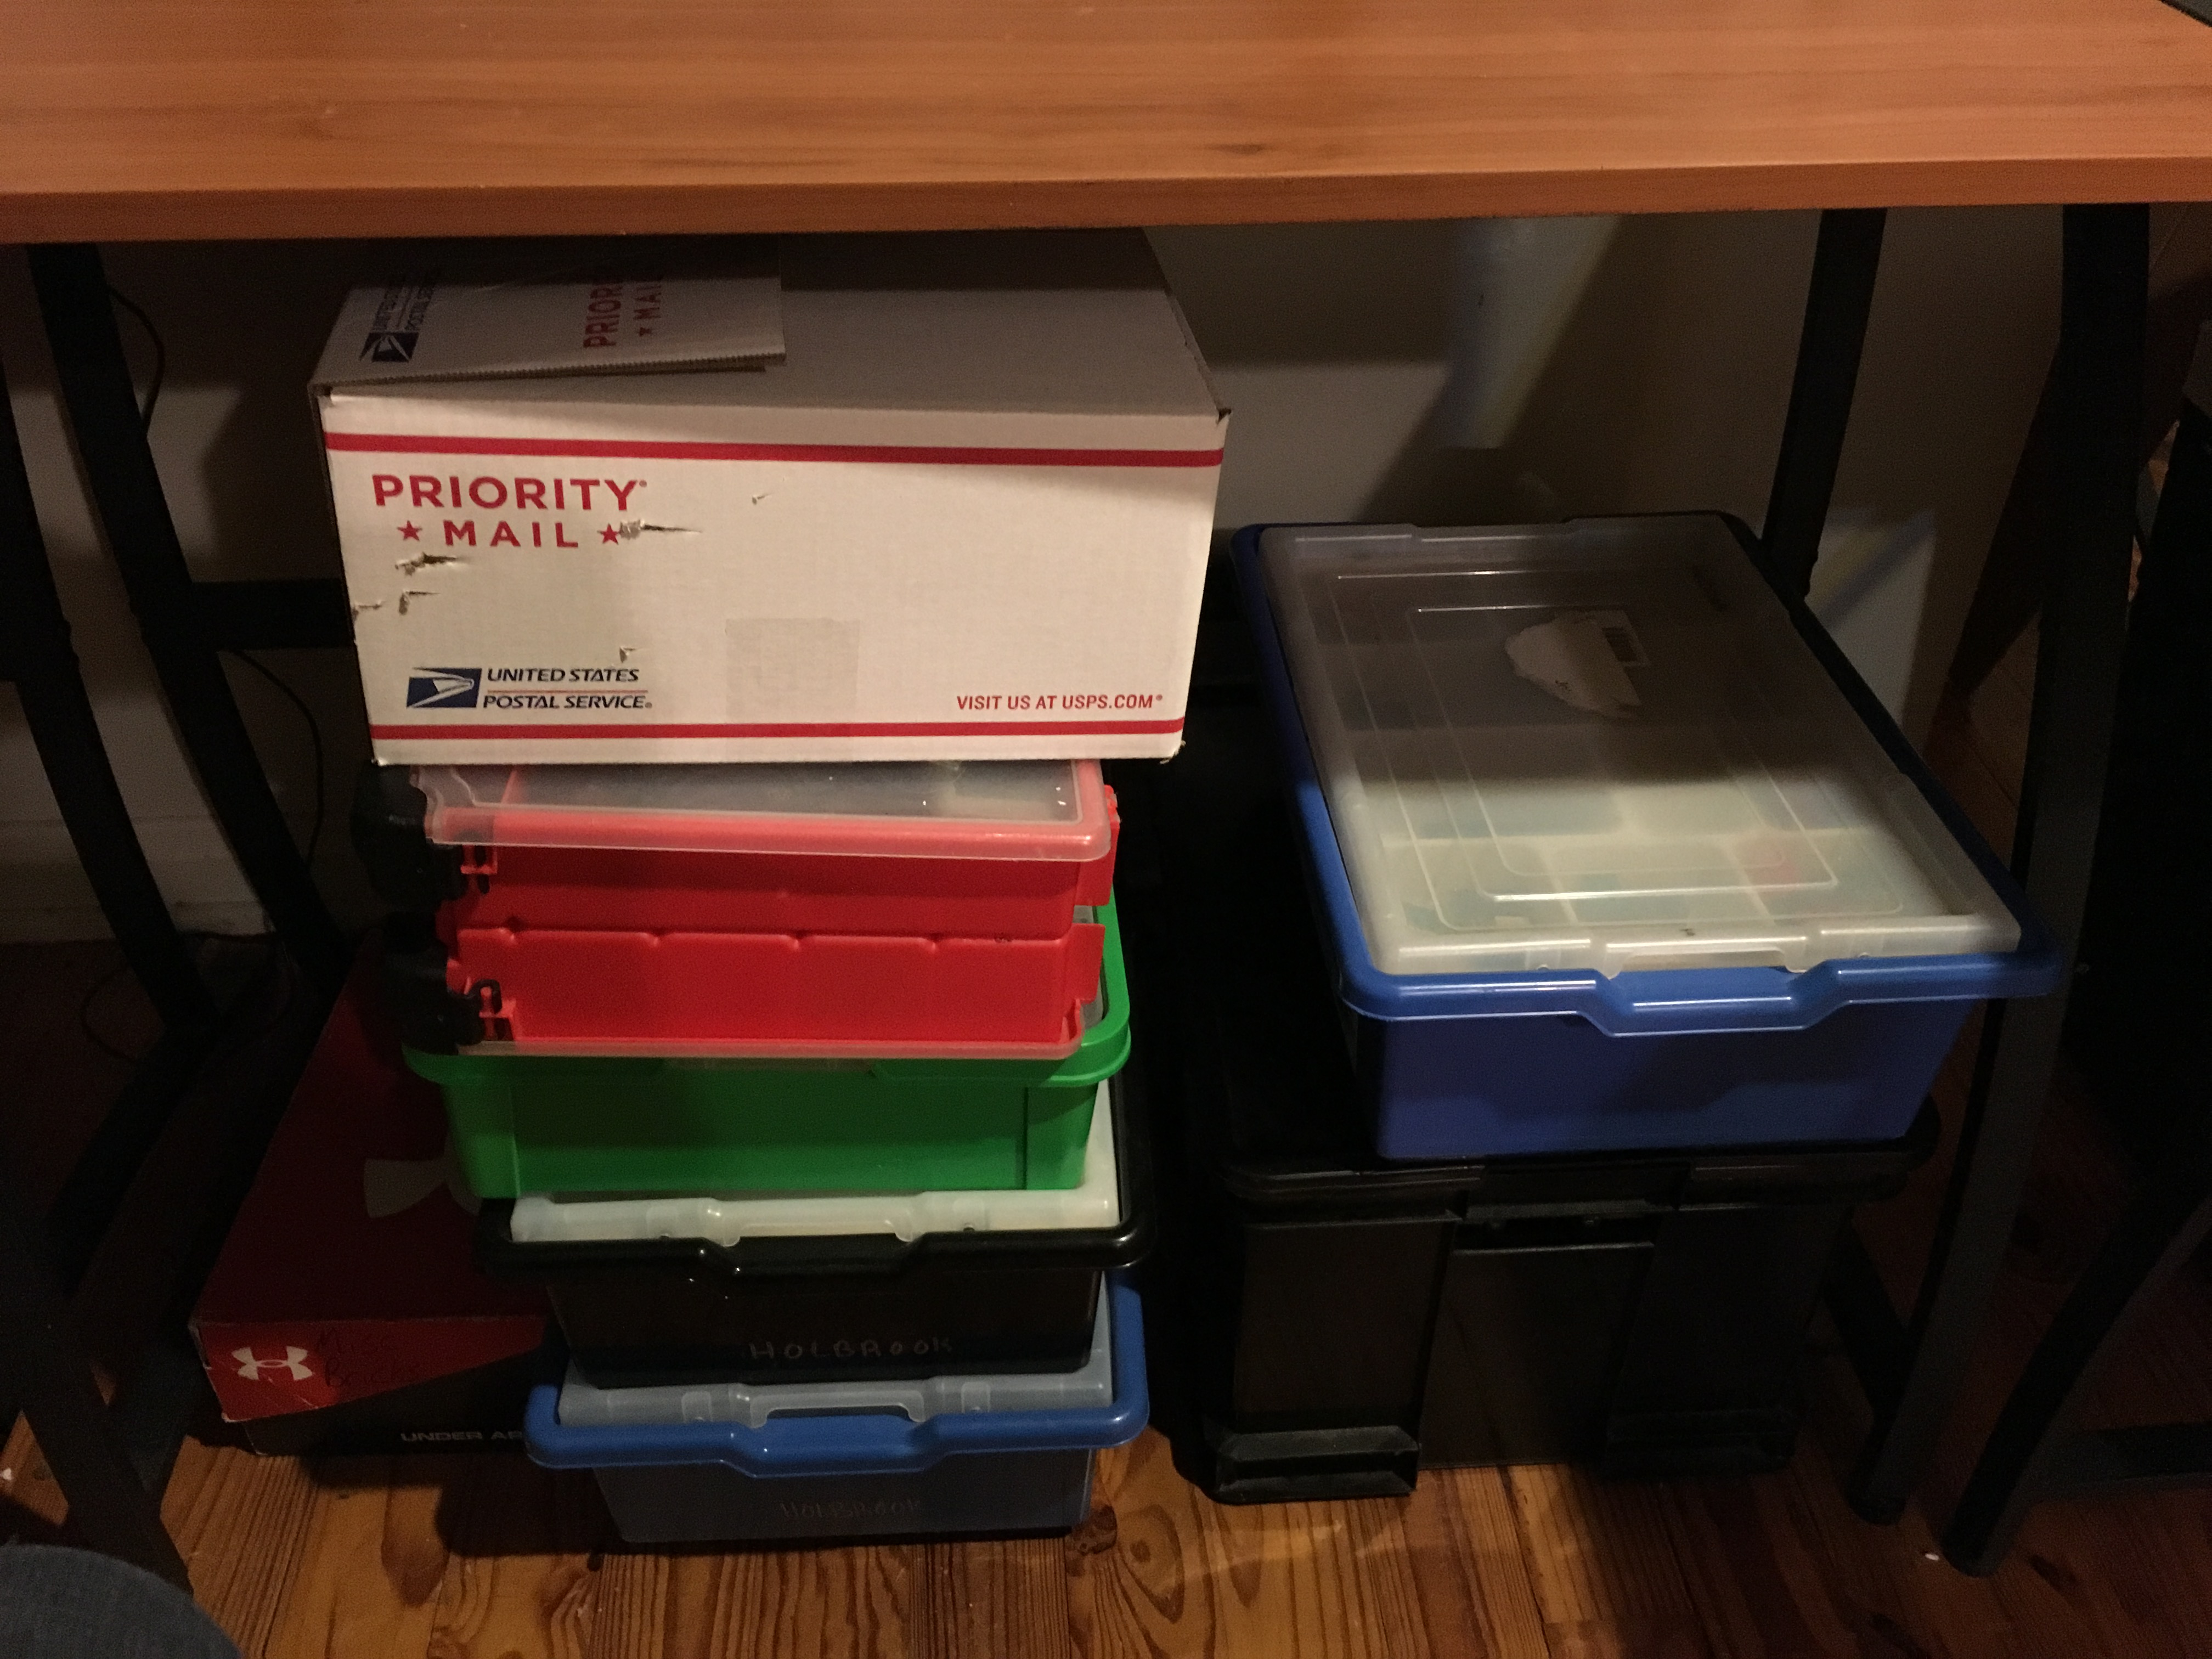
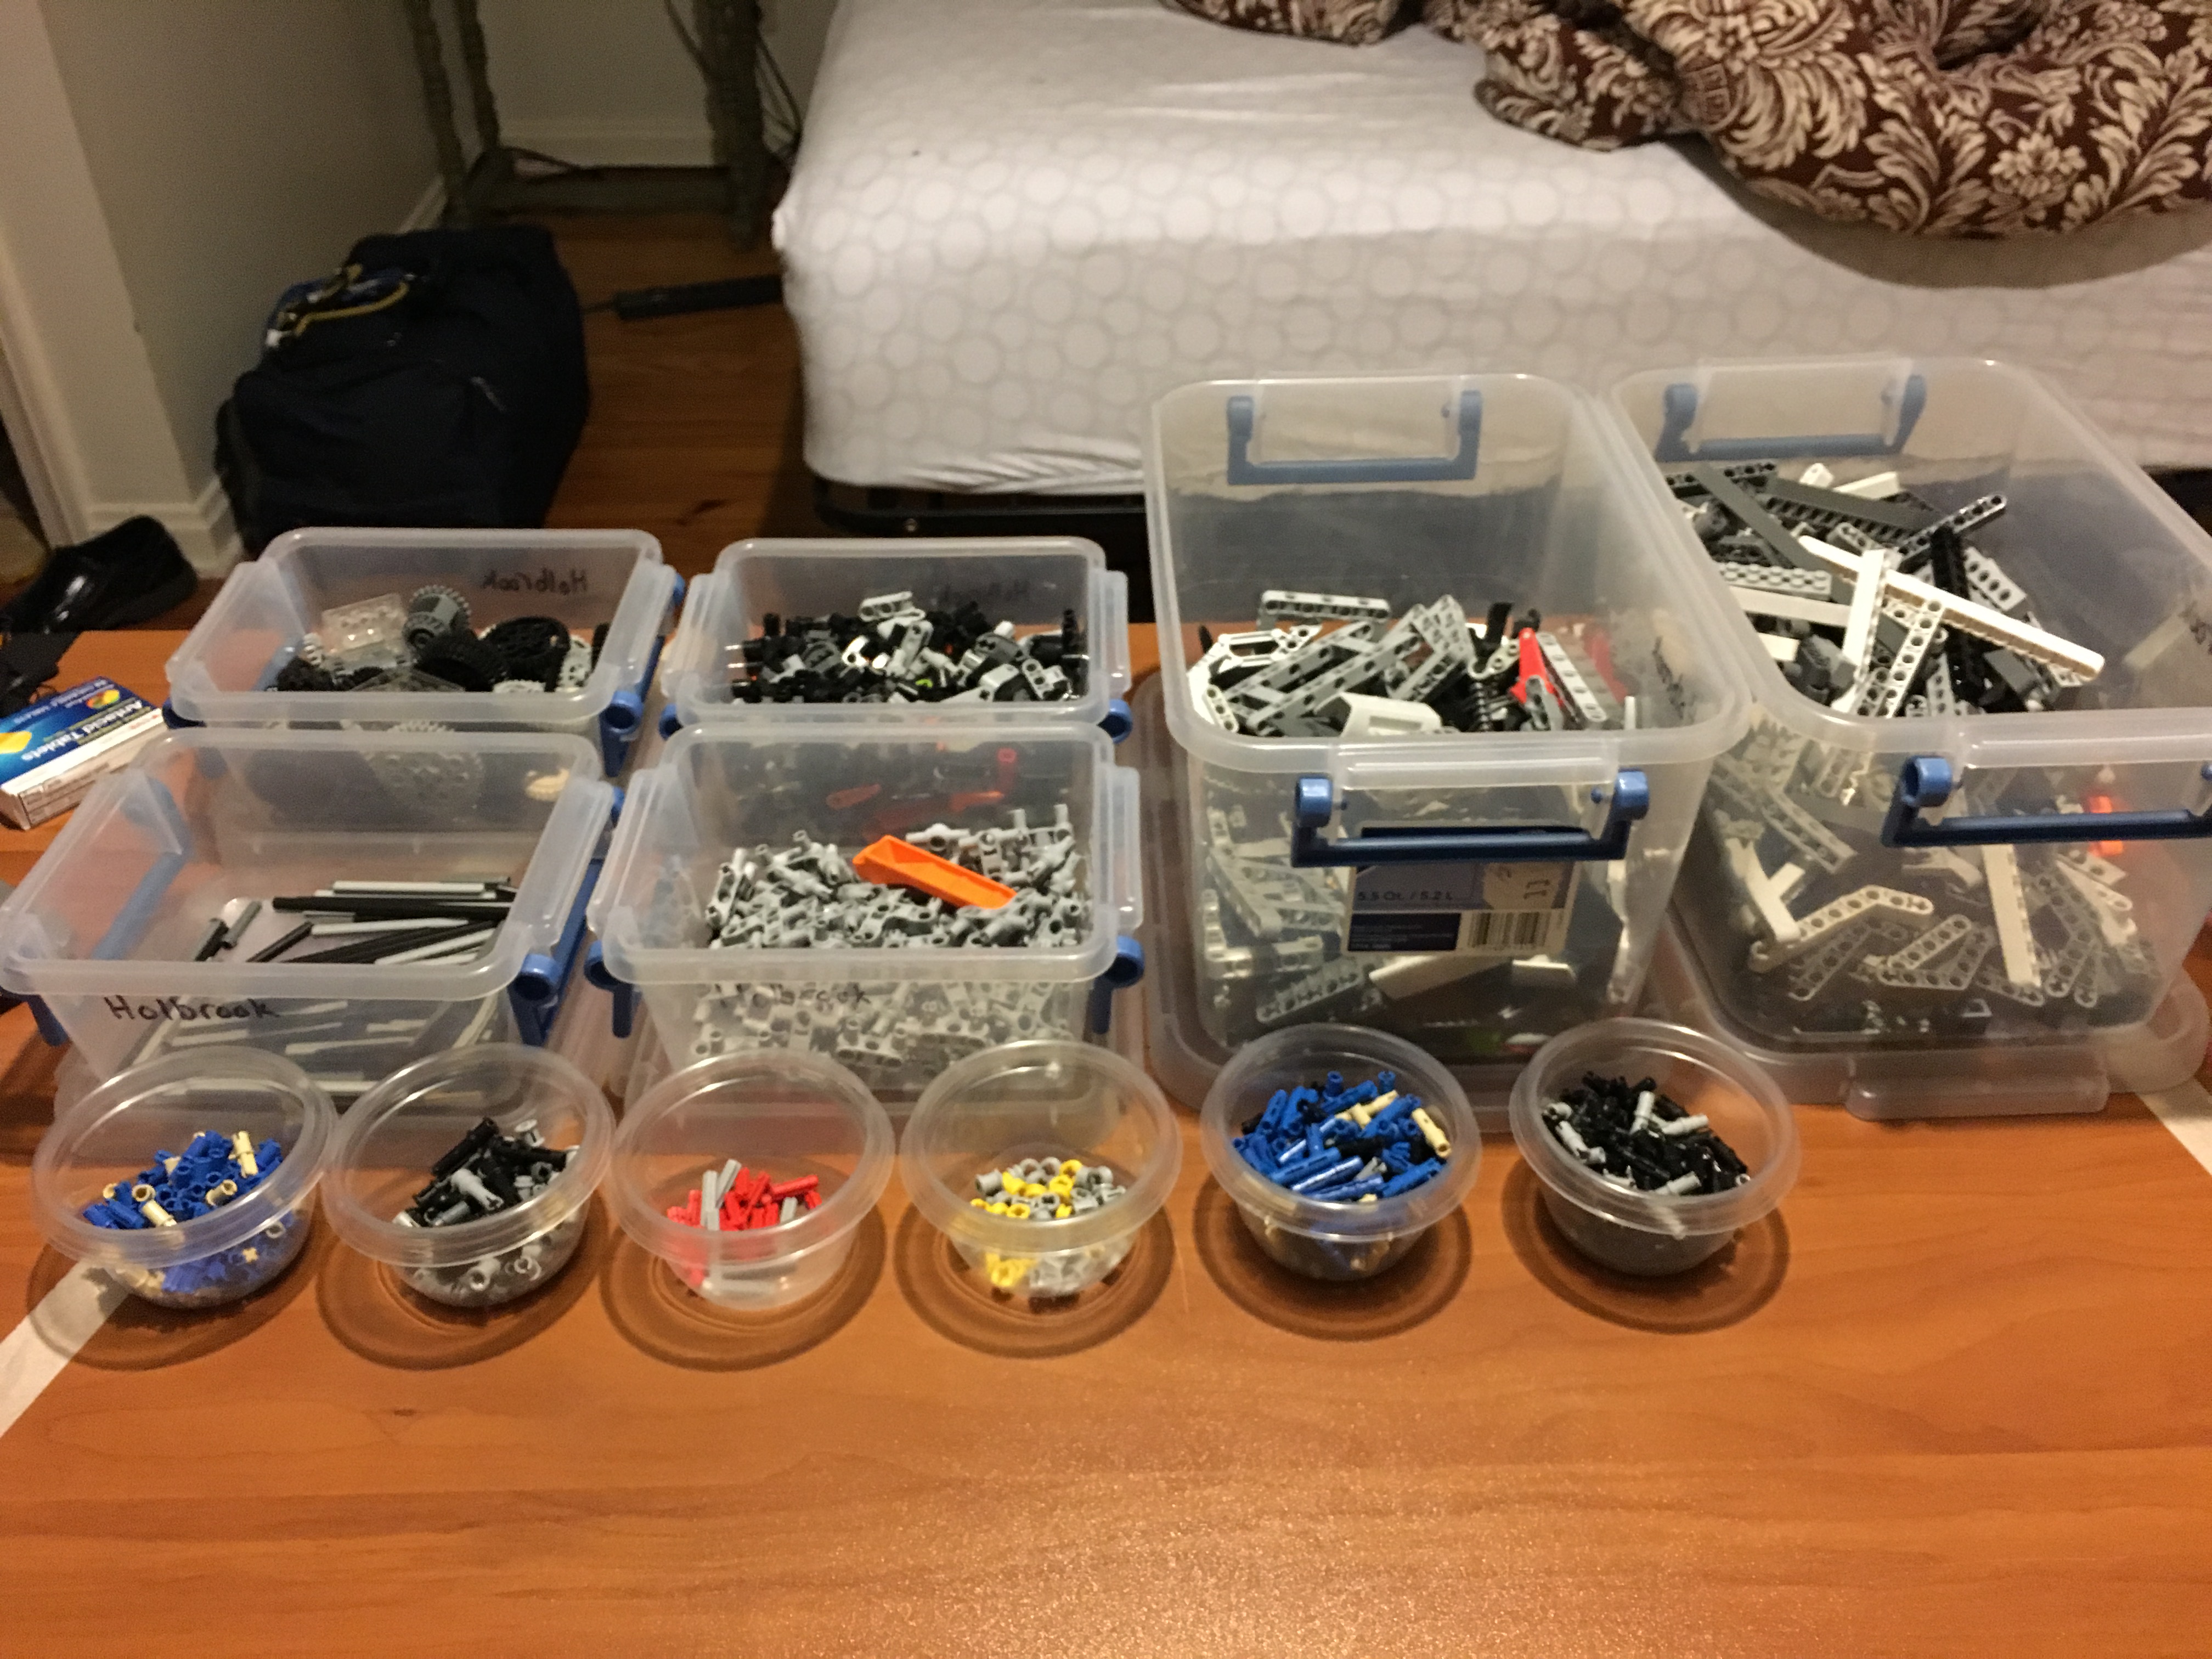
Most of the parts were contained in the large black box at the bottom right, loosely categorized into six smaller boxes, along with some small Tupperware containers for smaller pieces:
While this system worked in the sense that I knew more or less where to look for any given piece, finding the piece I wanted within the sea of pieces I didn't want was often a lengthy and frustrating endeavour. Moreover, when I devised that organizational scheme, portability was a priority: I needed to be able to take lots of unassembeled pieces with me to various places. However, that's no longer the case, and so the annoyances of the system were starting to eclipse its benefits.
New Plan
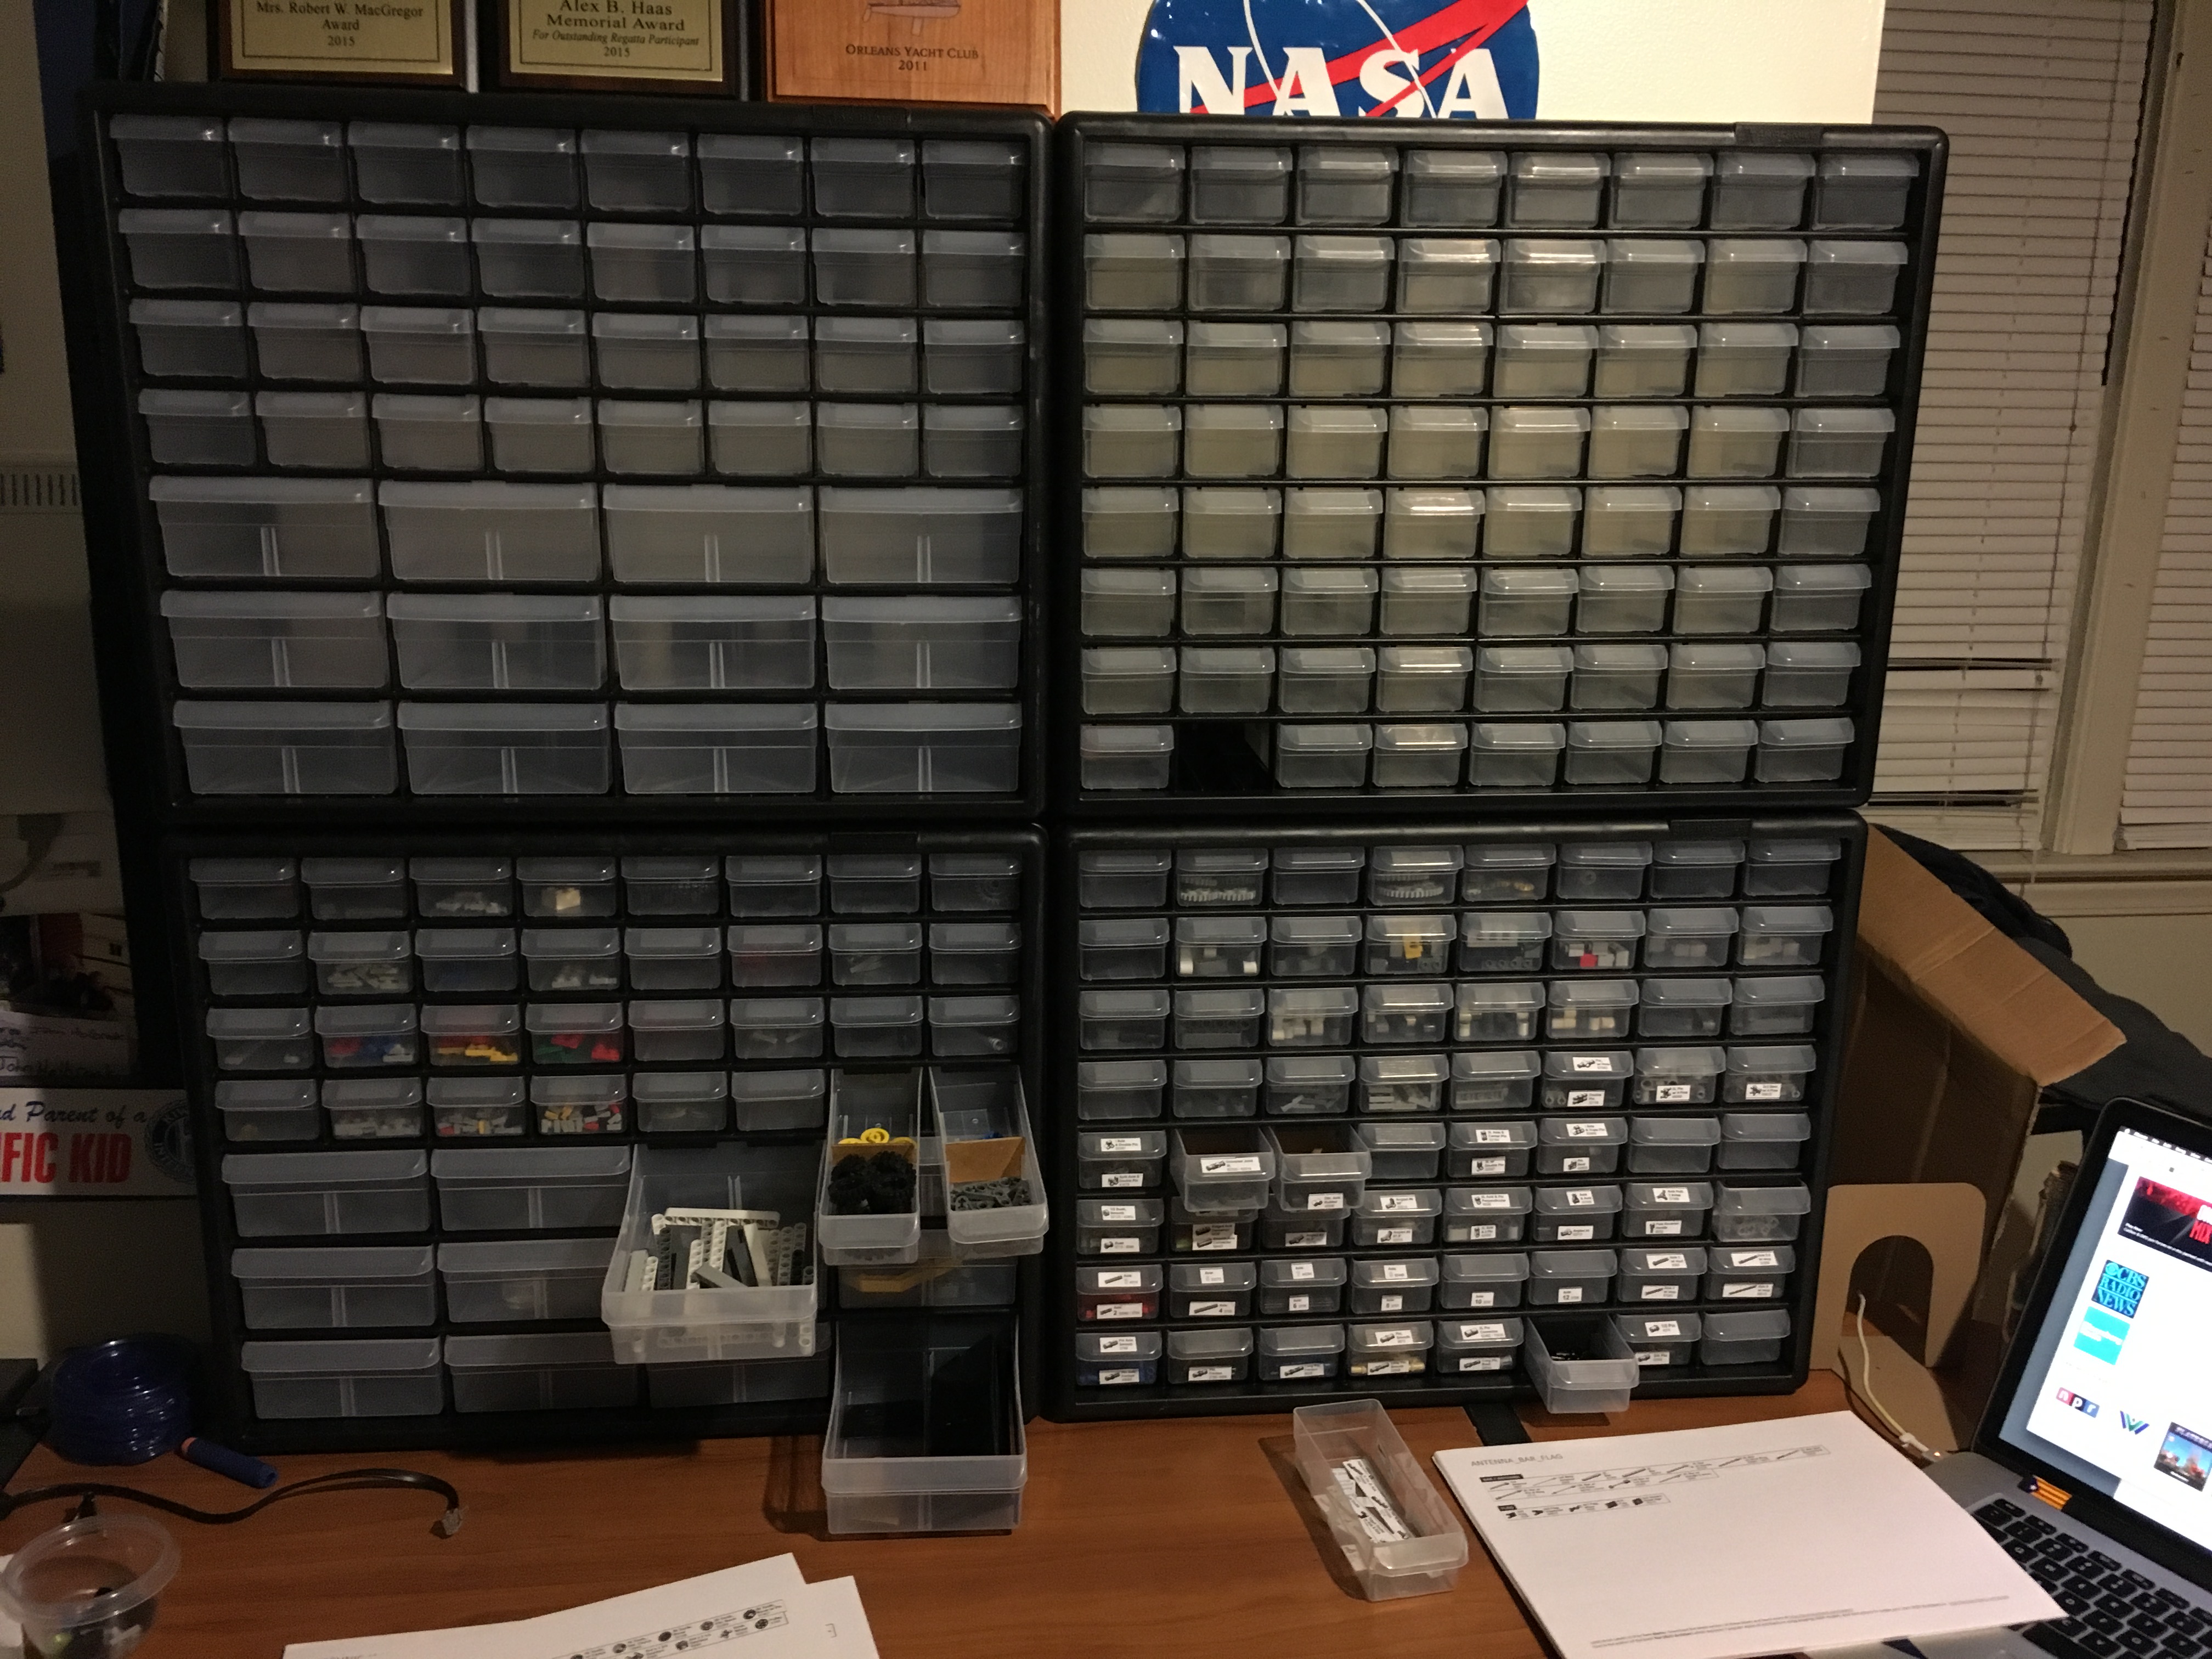
I wanted to implement a new organizational paradigm, that would allow me to very quickly find any given piece. After doing some research, I settled on the line of small-parts storage cabinets produced by Akro-Mils. I purchased two cabinets on Amazon, one with 64 'small' drawers, and one with 32 'small' drawers and 12 'large' drawers:
Each drawer can be subdivided into two sections; the smaller drawers divide side-to-side, while the larger drawers divide front-to-back. A limited number of plastic dividers are included with each drawer, adn while additional dividers can be purchased online, but they're quite expensive. Happily, I had some thin but stiff cardboard laying around, which I was able to cut into rectangles of the correct size to use as extra dividers.
Sorting Hell
With the cabinets purchased and space on my desk cleared for them, I could now begin the tedious
process of sorting pieces into them. This took me about 4 days of intermittent work. Initially, I
tried to sort one bin at a time, spreading the contents out on a tray:
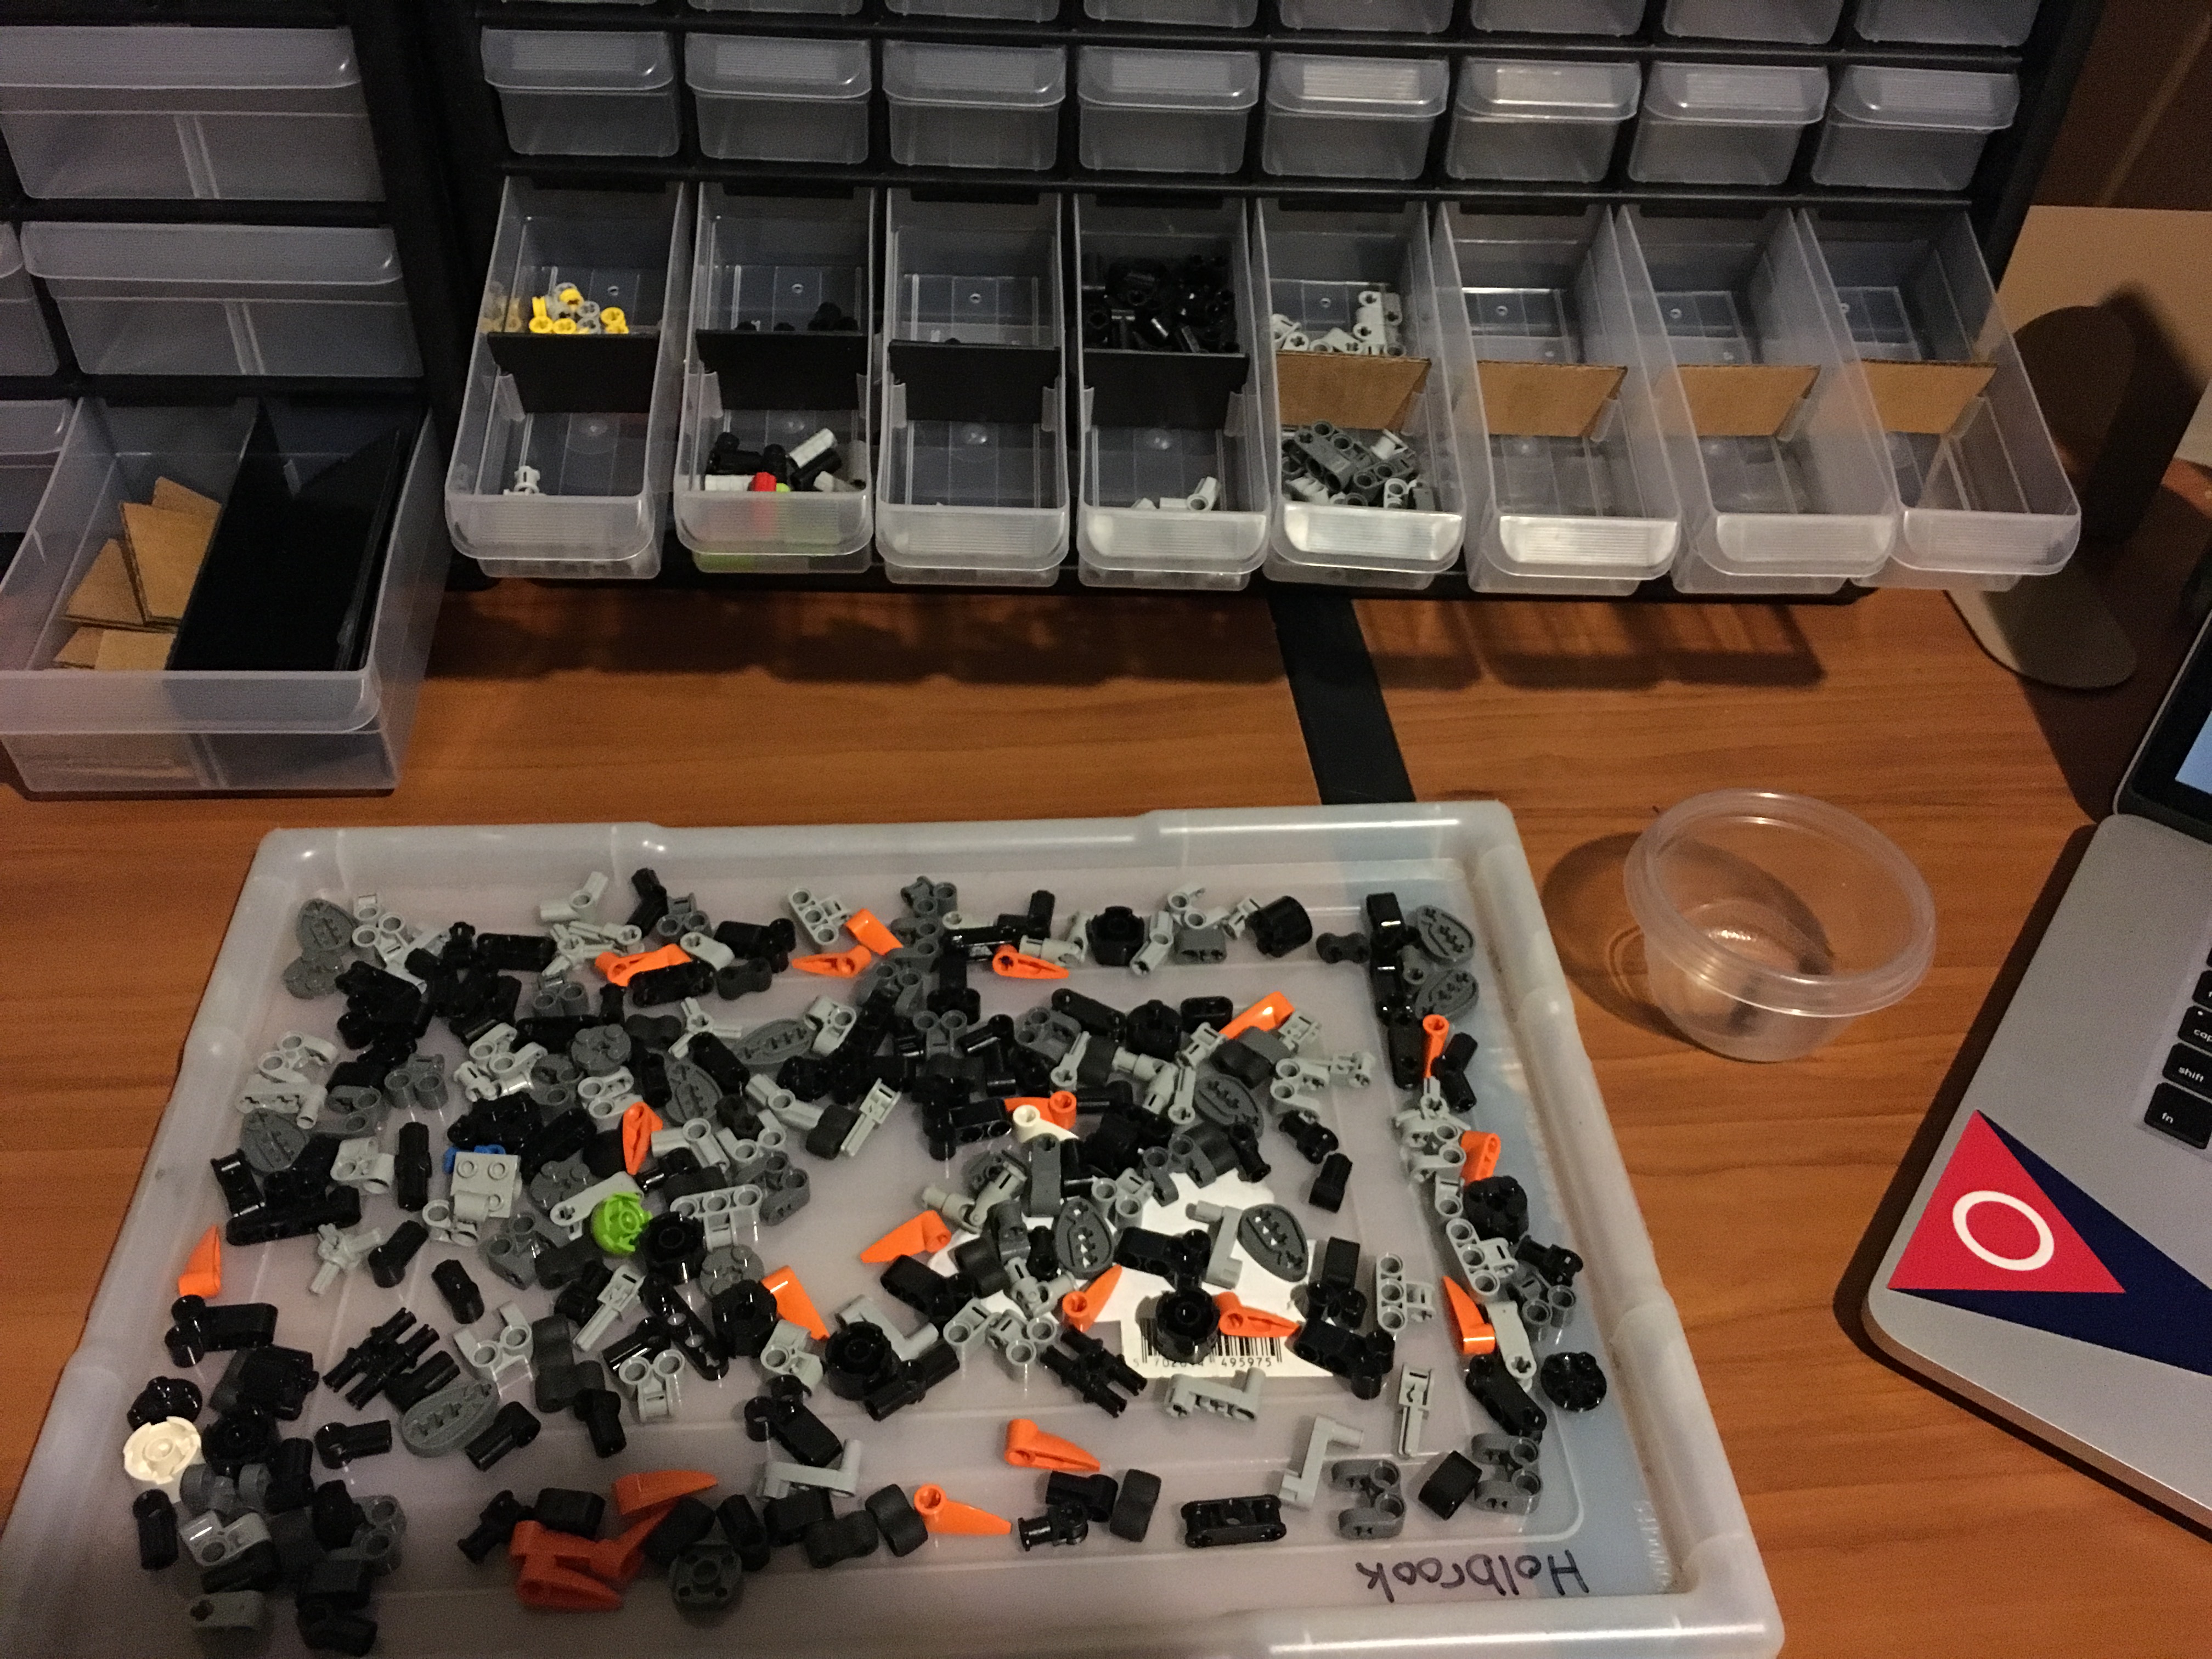
Quickly, however, chaos took over:
Running out of drawers
After the first 4 hours or so of sorting, it became apparant that I hadn't purchased enough drawers to fit all of my parts, even with ample use of dividers. So, it would be necessary to purchase more cabinets. Because I had a limited amount of time to complete the sorting project, it was necessary to purchase more cabinets in person. It turns out that the only major retail chain that carries the Akro-Mils storage cabinets is True Value, and fortunately there is a True Value within about 20 miles of my house. I purchased two more drawers, one each of the types I already had:
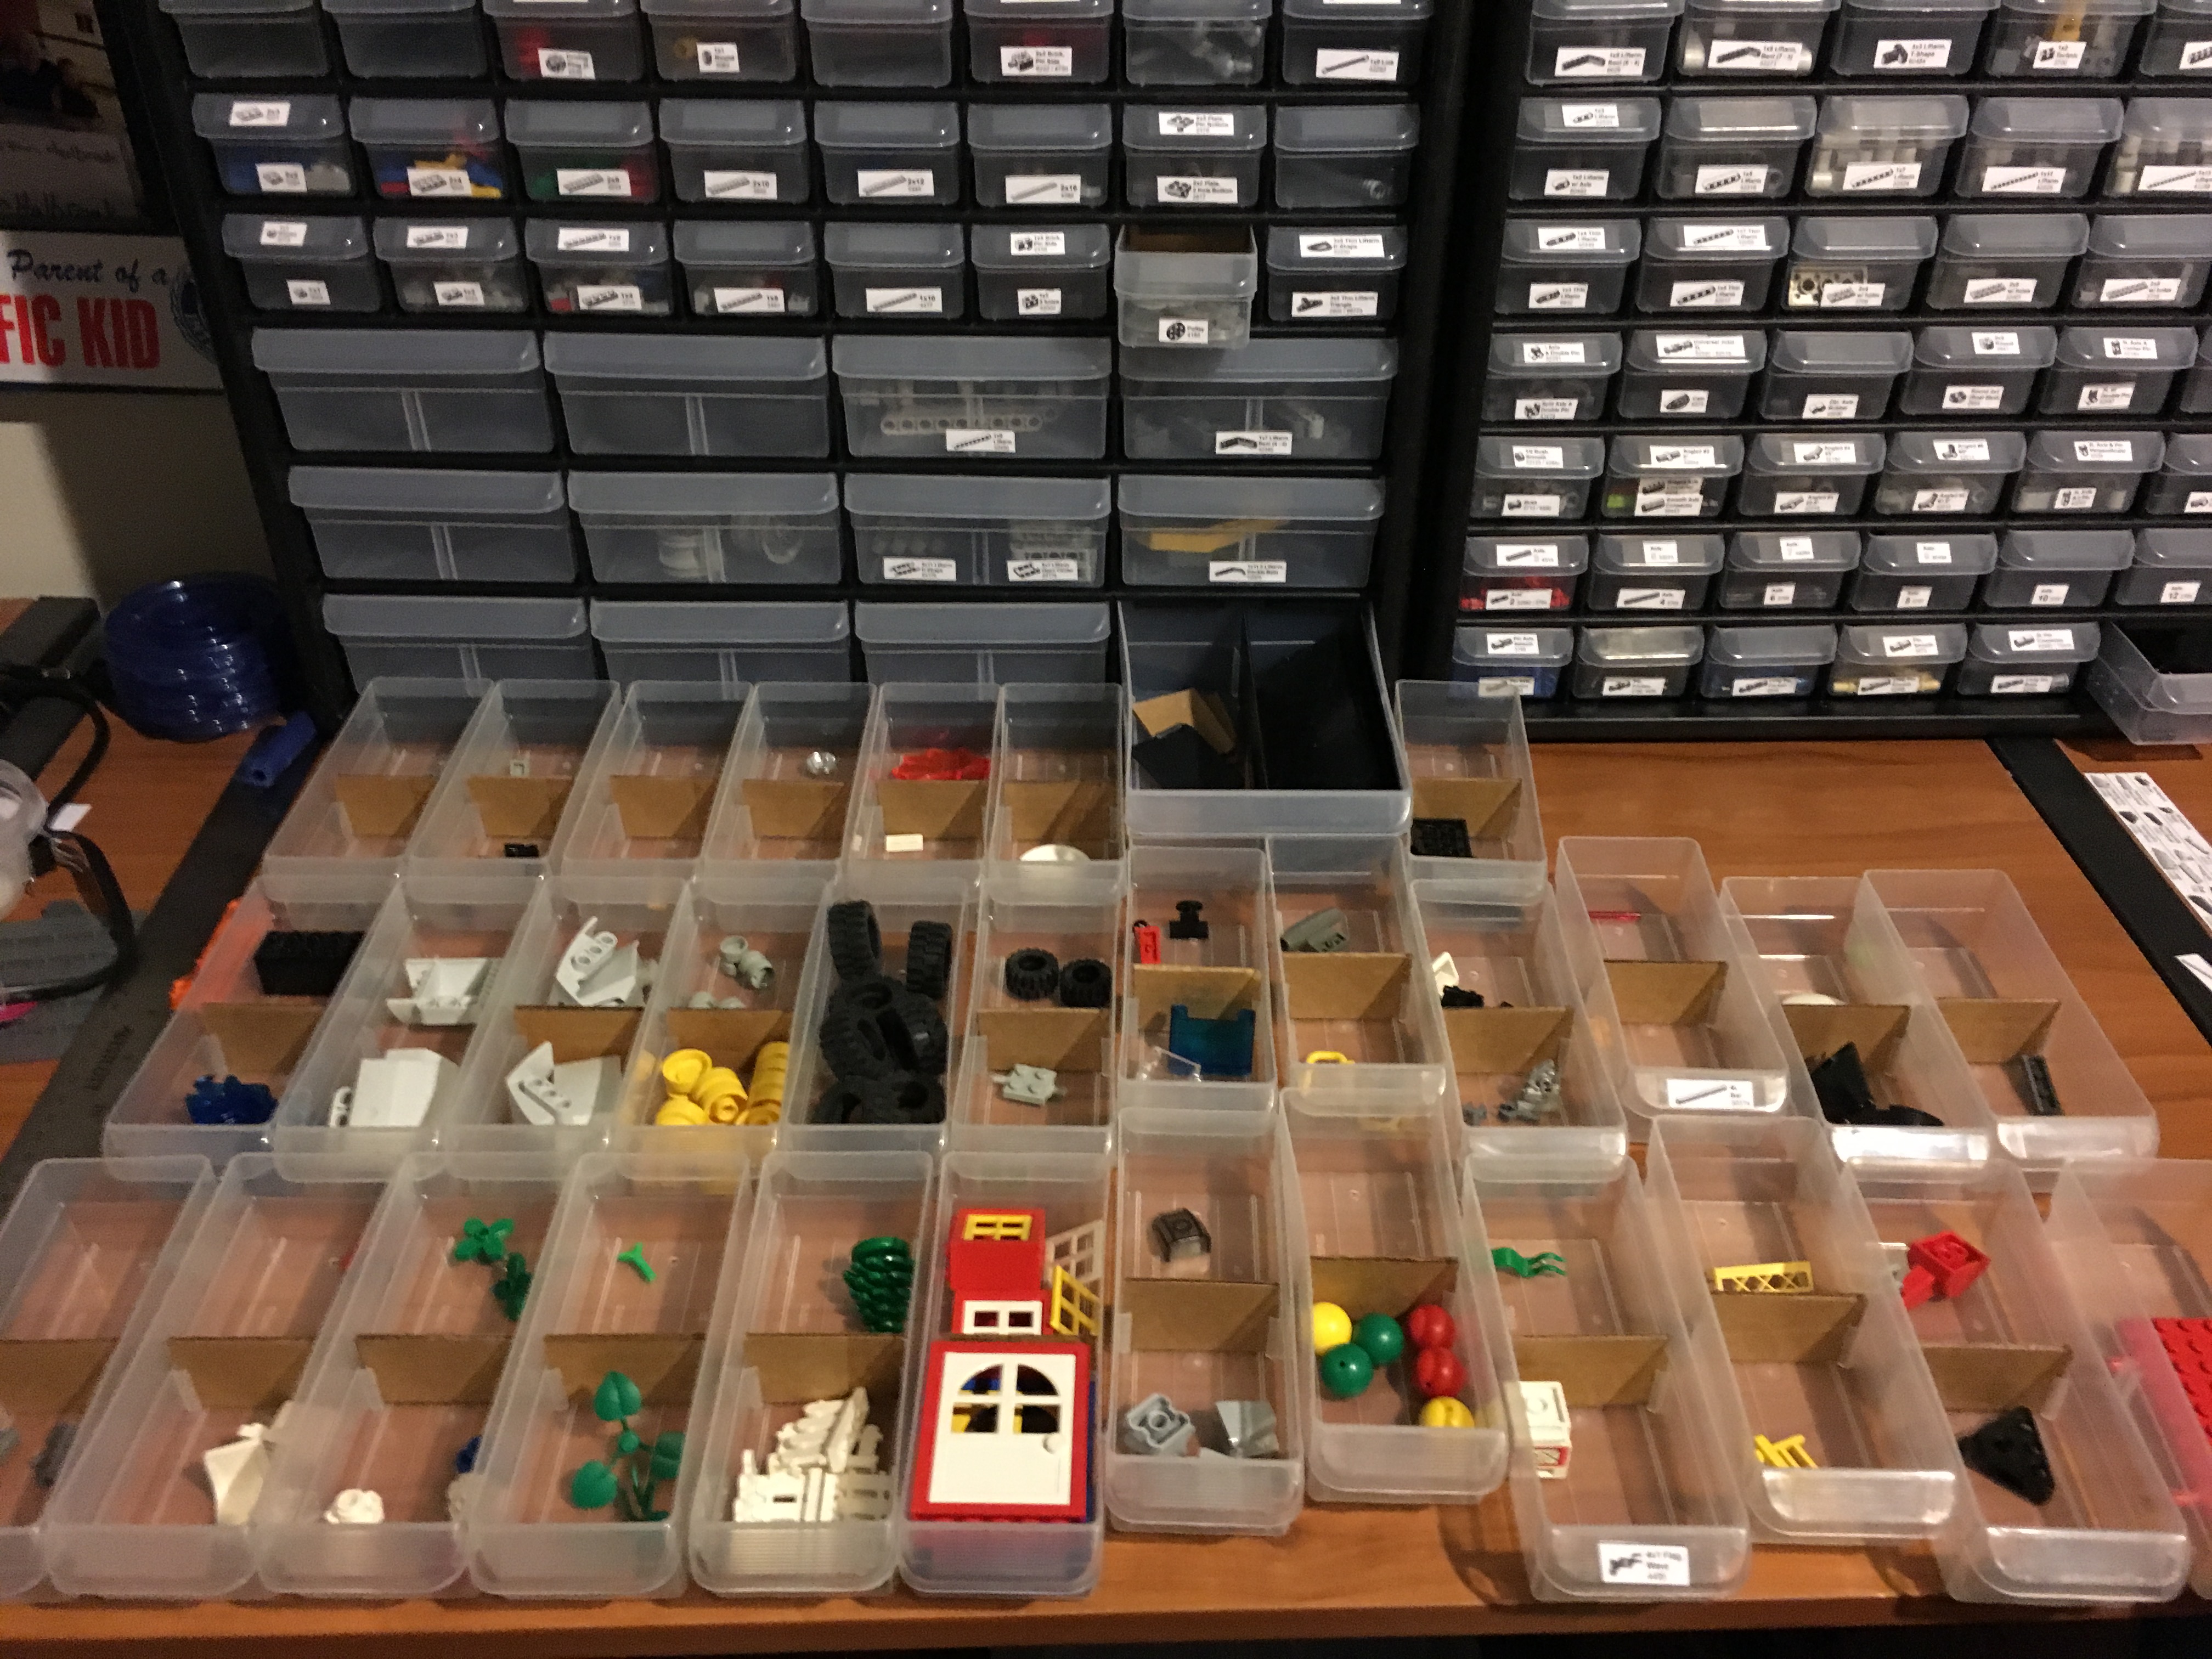
For the last few (often rare) parts, I resorted to spreading a bunch of bins out on a table:
Labeling
In order to make it easier to look for parts without opening every drawer, it was necessary to label the drawers with their contents. I wasn't much looking forward to producing and printing several hundred labels. Then I found Tom Alphin's collection of LEGO Brick labels. Tom has produced over 900 labels, each of which includes an image, name, and part number.
Tom's labels are designed to be printed on any of several Brother P-Touch label makers. Unfortunately, I don't own any such label maker. However, Tom also provides a 19-page PDF preview of all the labels, and I printed this document on Avery 8165 Full-sheet label paper in order to produce all 900+ labels. While I was able to make this work, it certainly would have bit een much more convenient to use a compatible label maker. Cutting the labels out from the full sheet was a tedious task, and I ended up wasting quite a bit of paper, and printing many labels which I ended up not needing.
However, after several hours of labeling, I was able to find labels in Tom's collection for most of the parts
that I had:
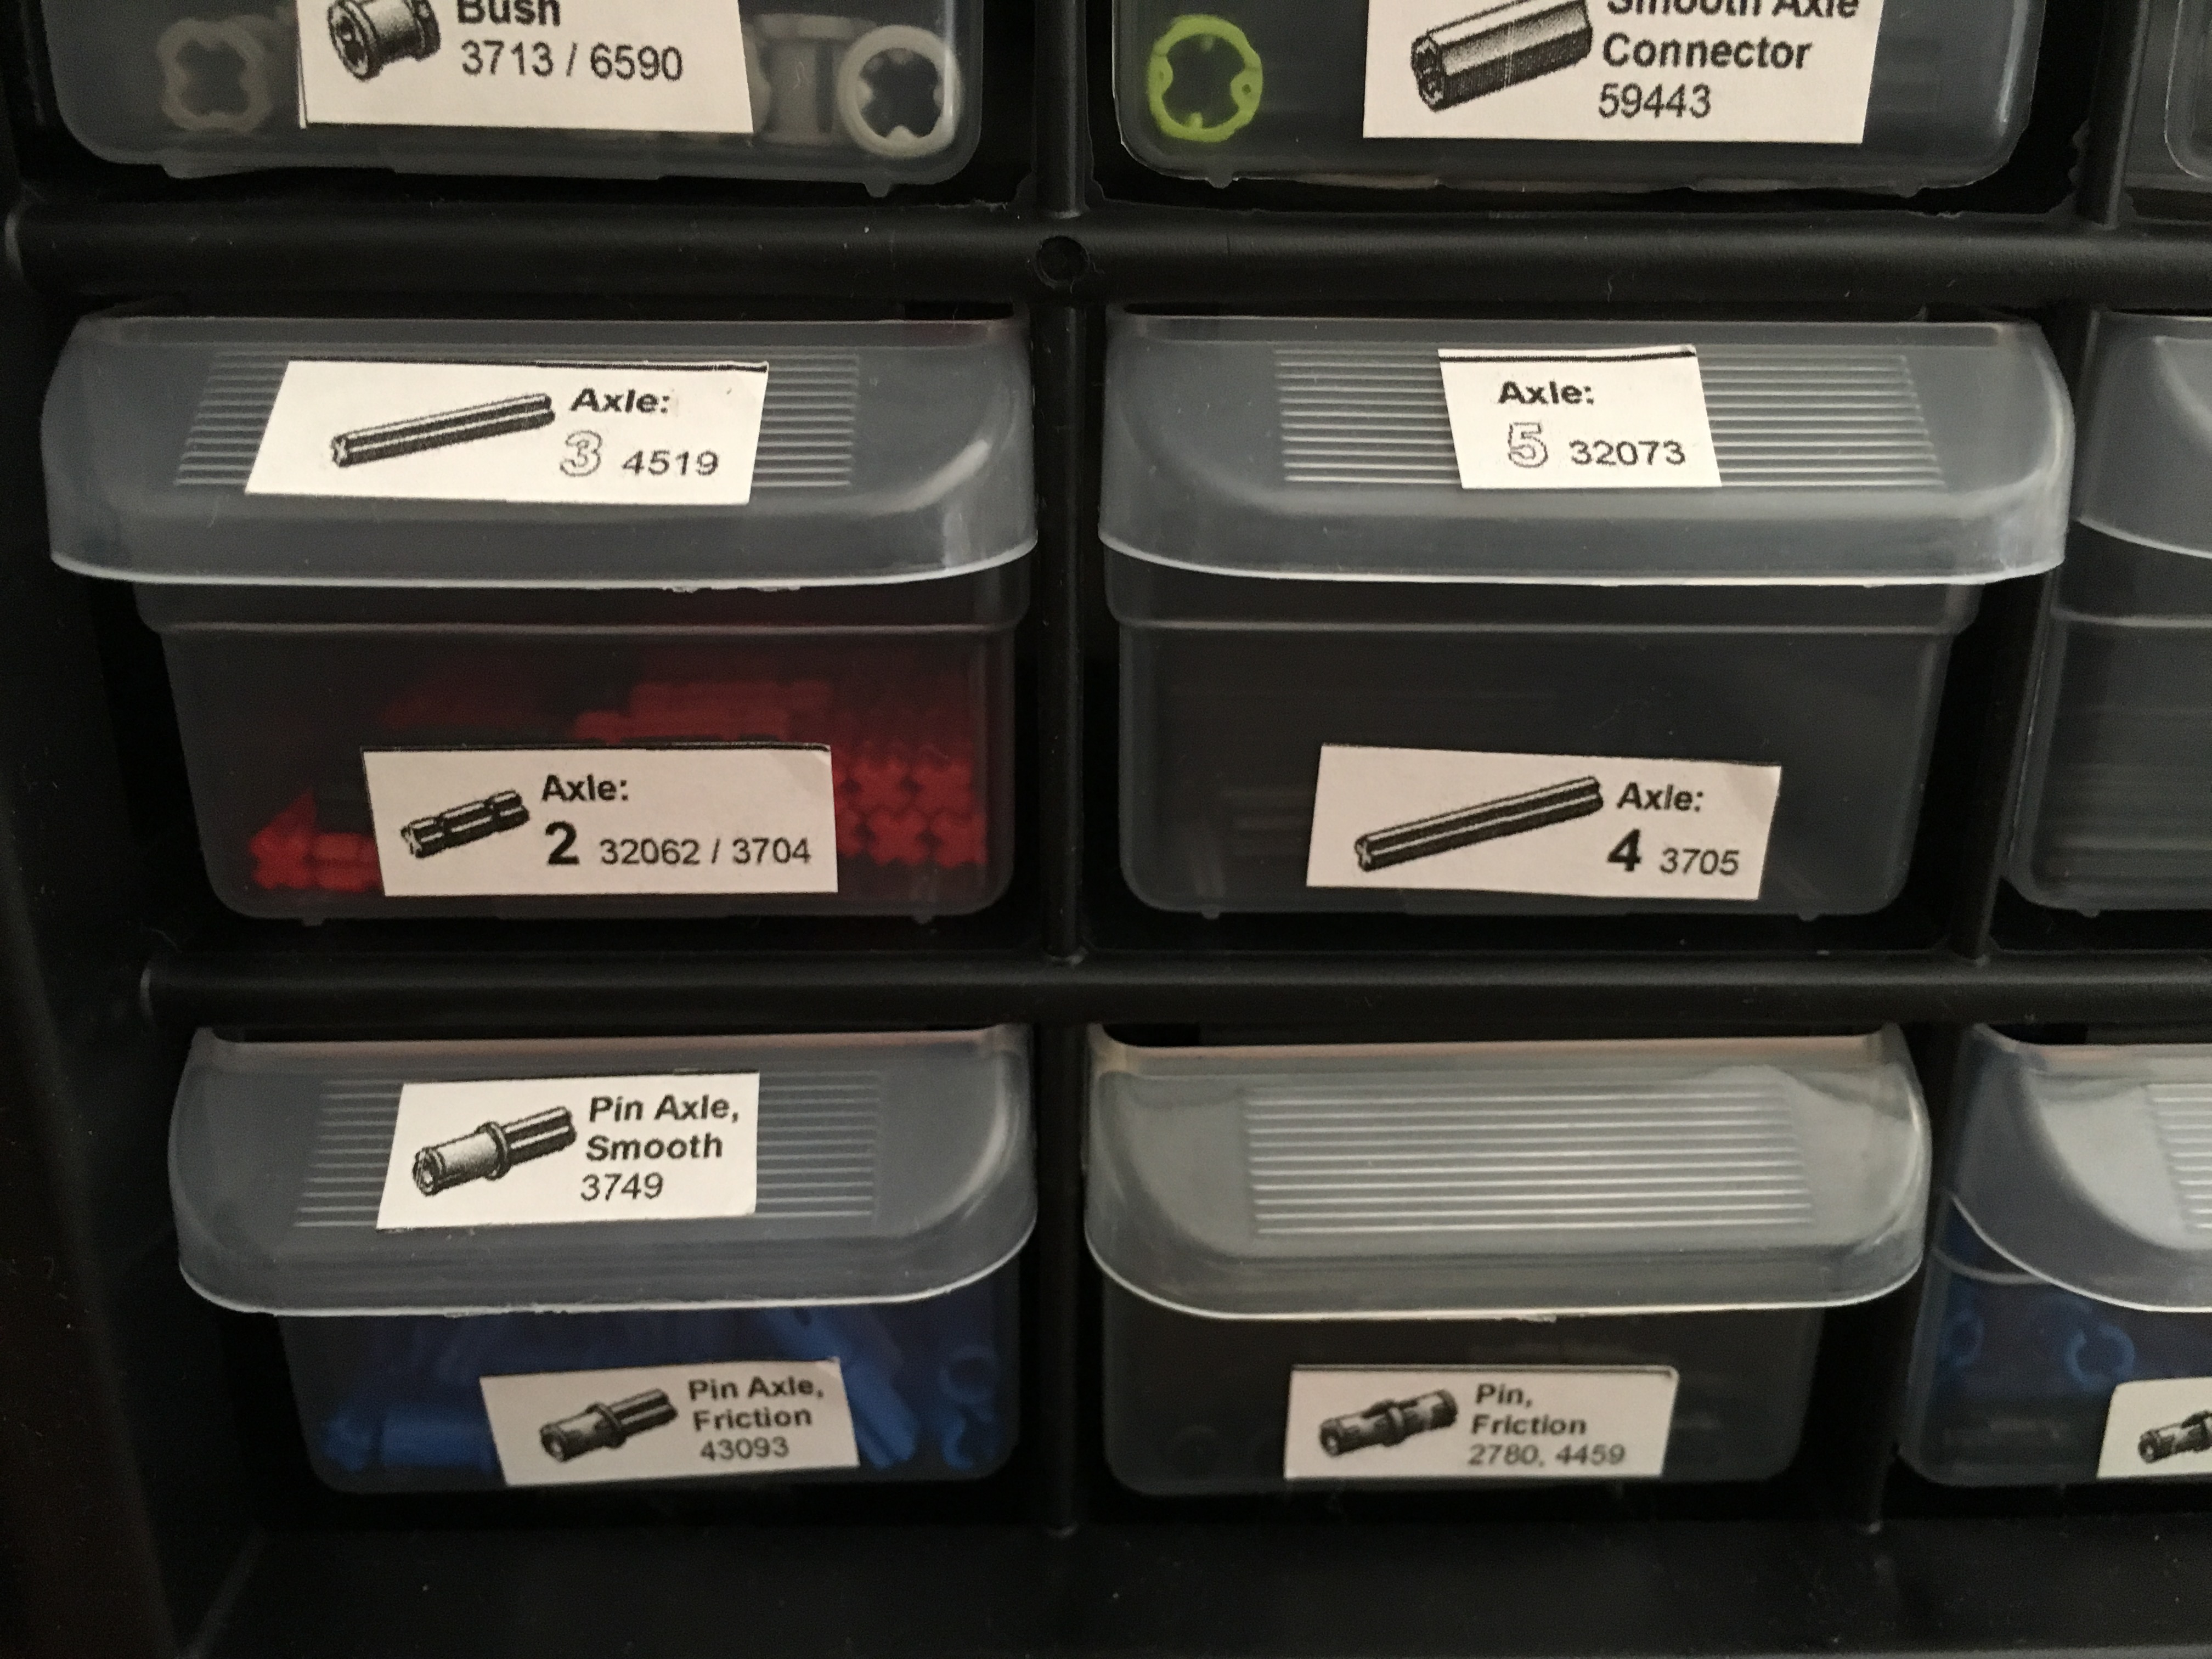
For small drawers which were divided, I placed the label corresponding to the part in the back of the drawer
on top, and the label correcponding to the part in the front of the drawer on the bottom:
For those parts where I couldn't find a label in Tom's collection, I used a scrap of label paper to hand-write a description on the drawers.
Final Thoughts
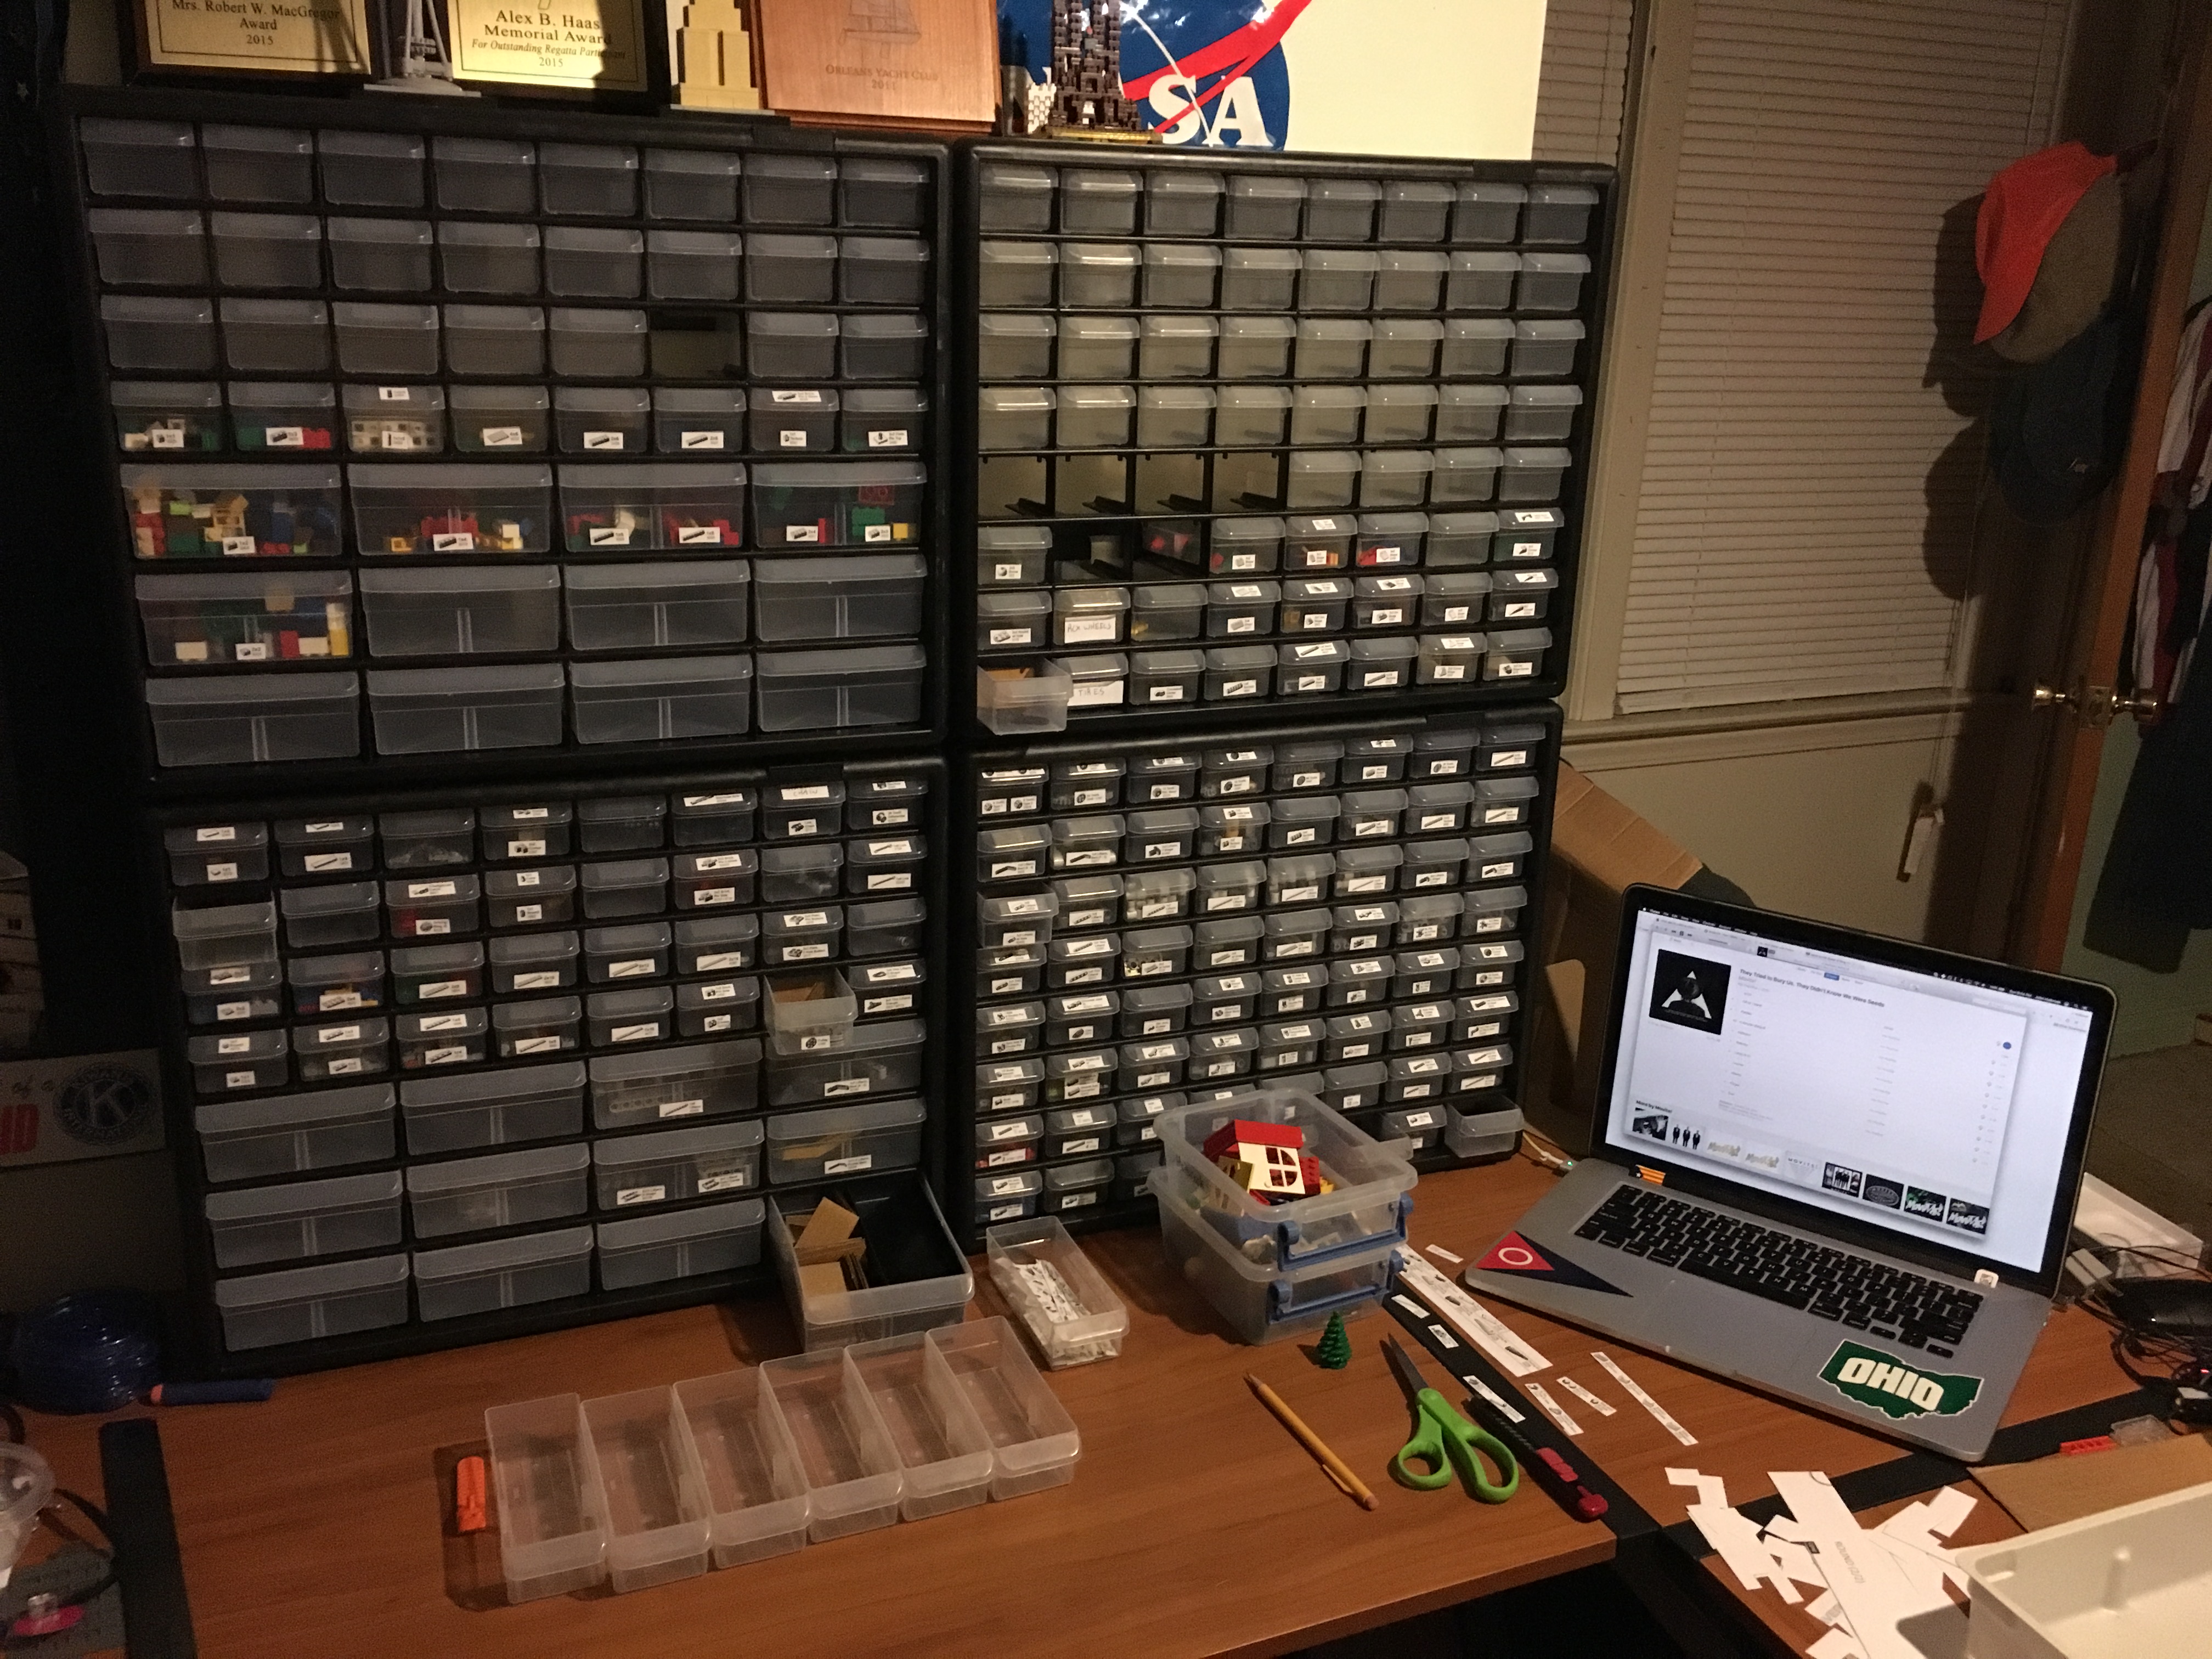
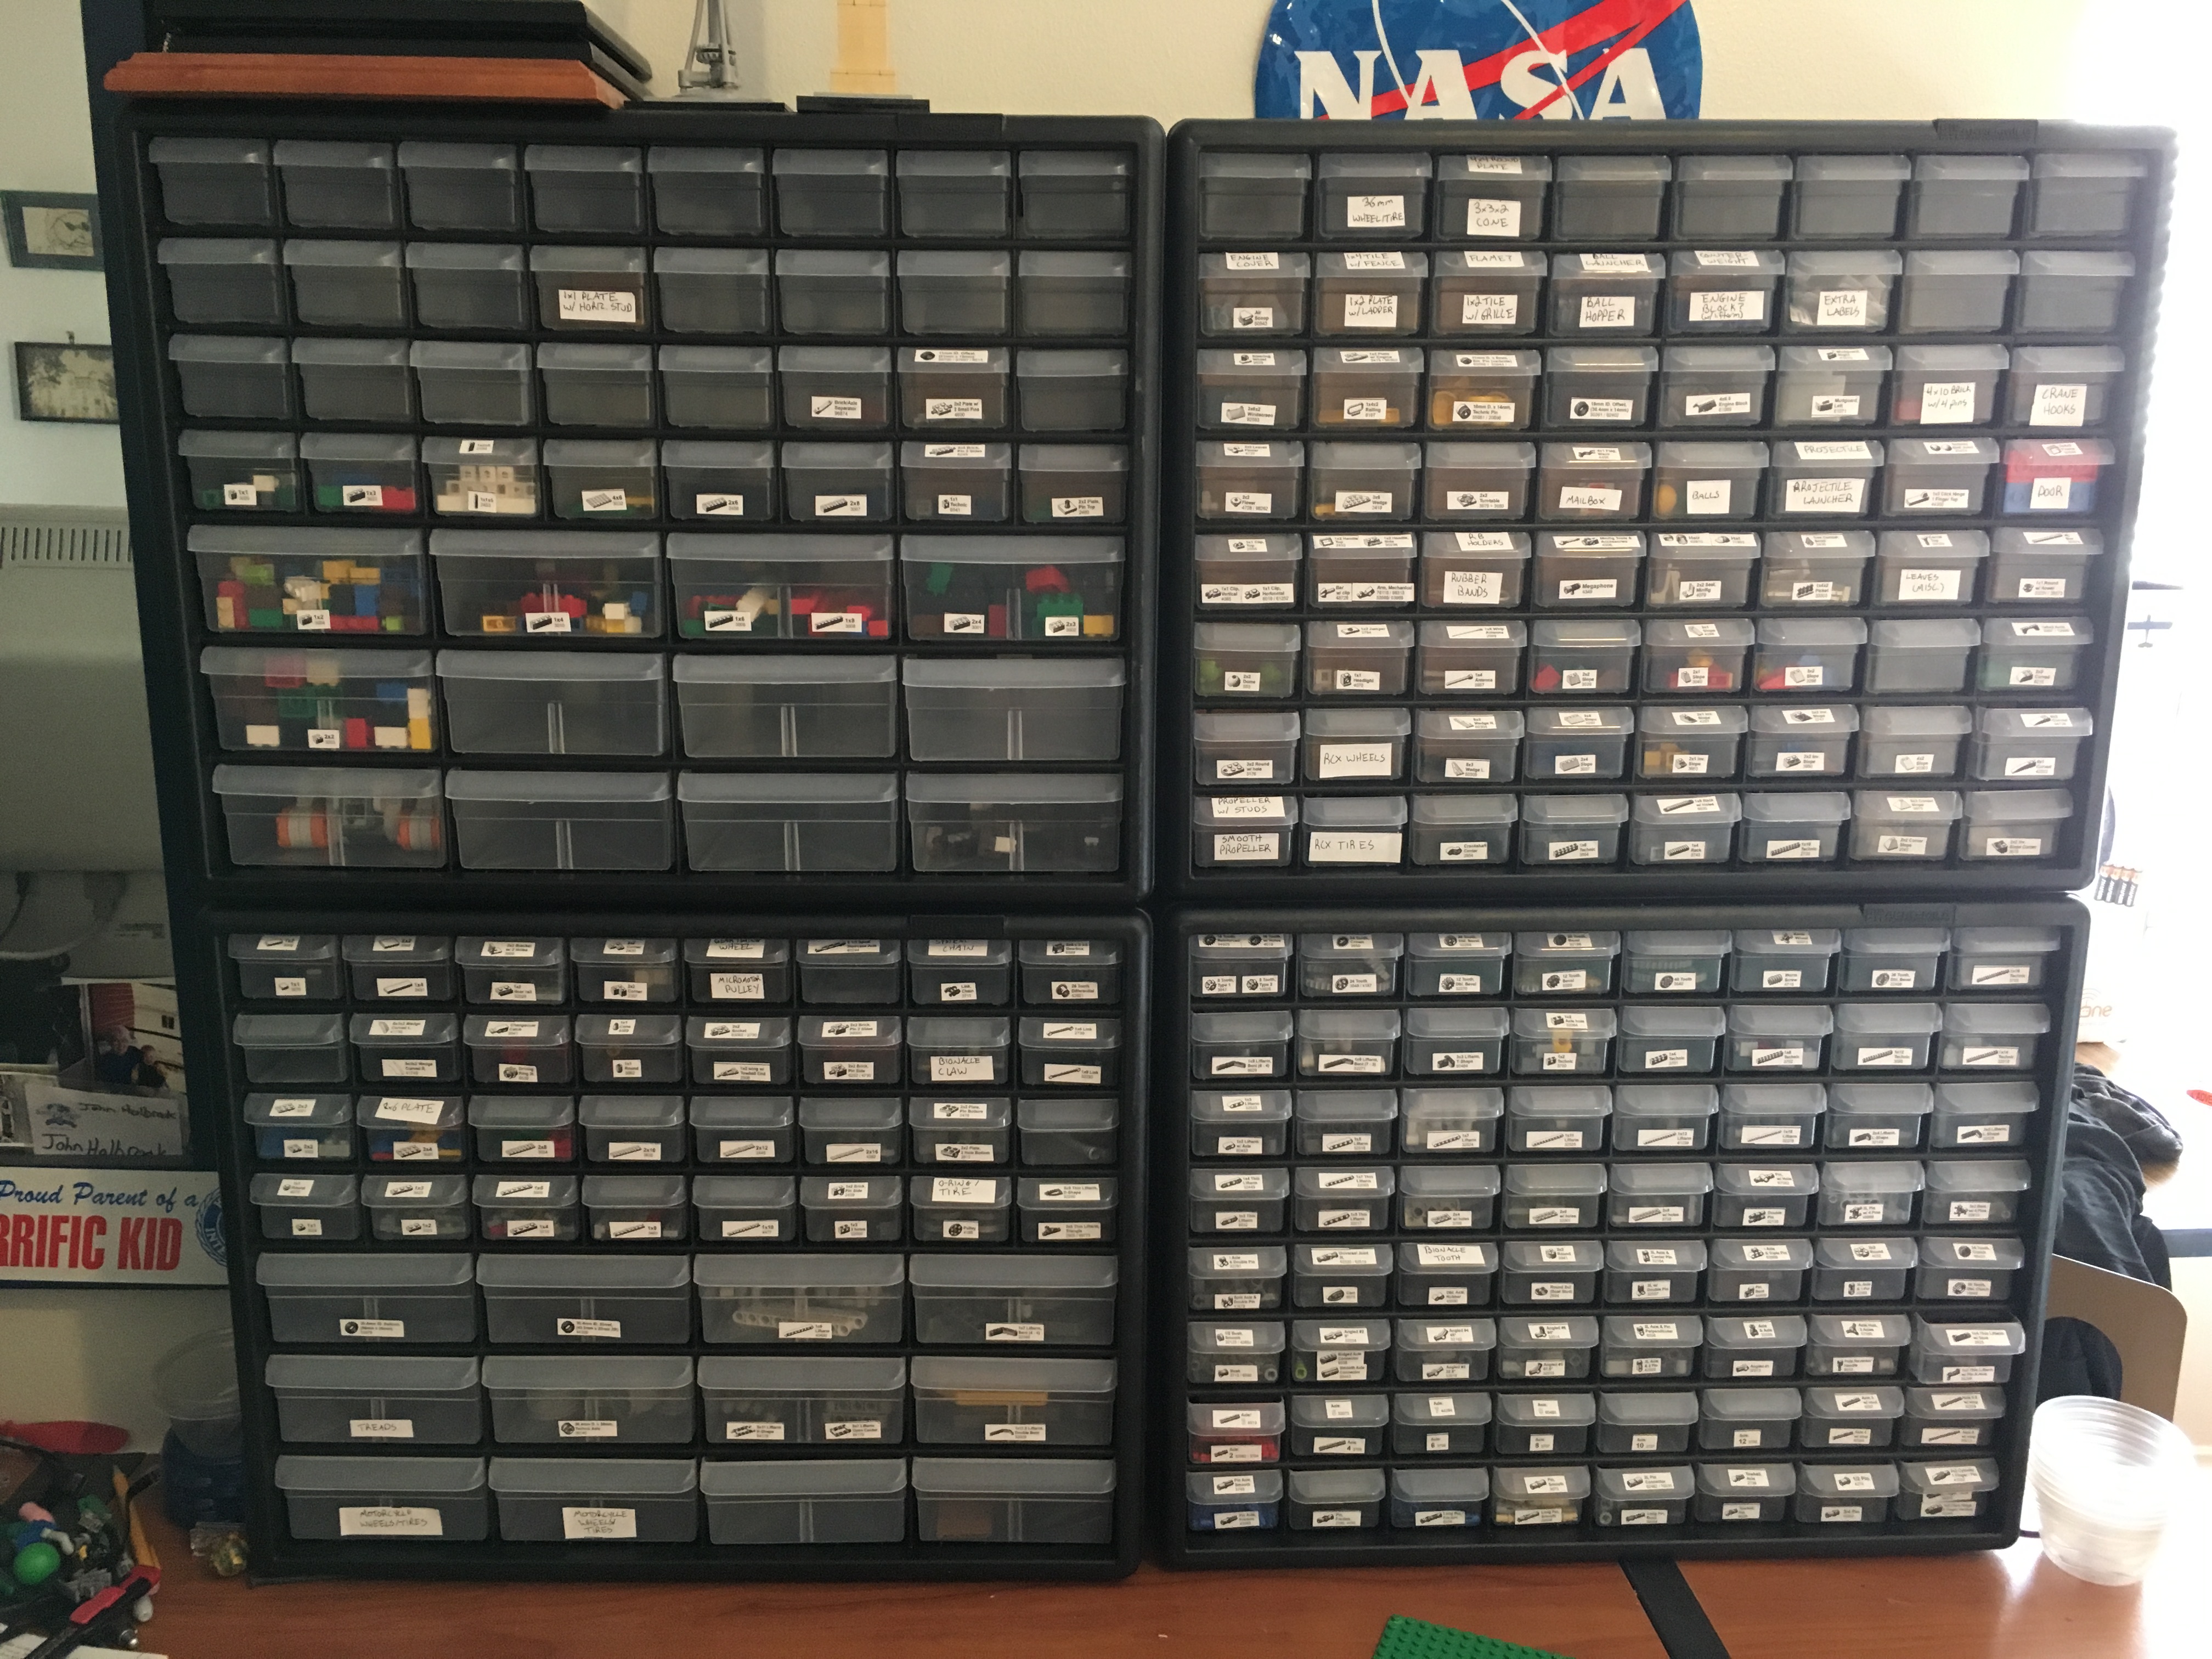
After many hours of sorting, labeling, divider production, and inner organizational debate, the majority of my
LEGO® parts are now sorted into 4 Akro-Mils cabinets:
All in all, this project proved to be much more involved than I initially thought. It was a surprisingly tedious and complicated process which took somewhere between 15 and 20 hours over about 5 days. However, it's now much easier to quickly find any given piece in my collection. So I guess it was worth it.